
Move the catalogue and history without chaos
Choose how to import, settle the product identifiers and check the results before moving the whole catalogue.
Work carries on without a break: existing goods can be updated, and earlier orders brought into current handling.
Step by step
Settle the sources and the migration boundary
Decide where products, stock levels and earlier orders come from. Write down the date from which the new process is to handle selling. Check the automations running in the previous tool, especially invoicing, messages and stock updates. Two systems doing the same thing can cause duplicate actions even when the data imported perfectly.
Prepare stable identifiers
Go through the SKUs and EANs in the source file and in the sales channels. The same variant should carry a recognisable identifier, and different variants should not accidentally share one SKU. Do not change the codes between import attempts. Keep a copy of the source file with the date it was exported.
Upload the catalogue from a file
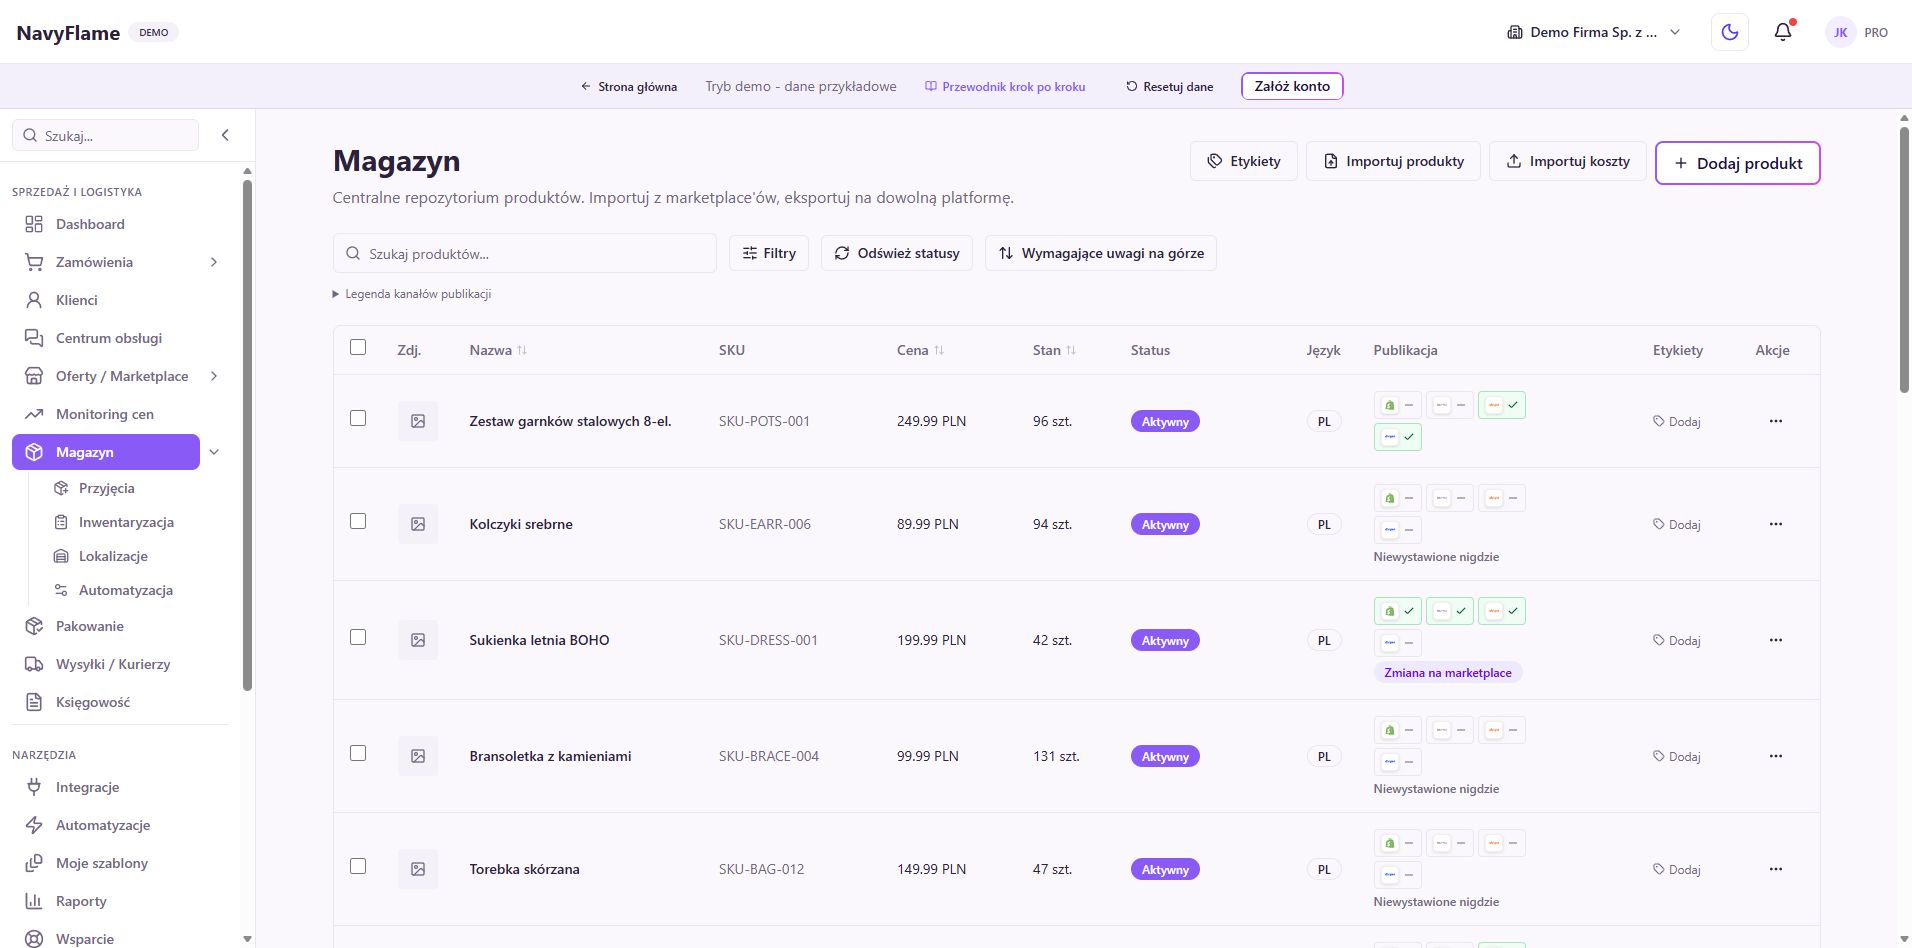
In Stock, click Import products. In the Upload file step choose CSV or XLSX; you can use Download CSV template first. In Match products by, choose SKU or Barcode (EAN). Set Create new and update existing, or Only update existing, depending on what the operation is for.
Check the mapping and the preview
Click Next: column mapping and compare how the fields are assigned. Watch the name, the chosen identifier, the price, the stock level and the variant data. Rows sharing a product key may form variants, so check how they group. In the preview, weigh the number of new, updated and skipped items before confirming the import.
Check: You understand which products will be created and which changed, and there are no unexplained mapping errors.
Confirm a small batch and look at the goods
Start with a representative sample: an ordinary product, a variant and an item that already exists. After the import, read the summary and the row errors. Open those products in Stock and compare identifiers, prices, units and quantities with the file. Only once the result matches should you repeat the process for the rest of the data.
Use existing offers as a source for the catalogue
If your goods are already in a sales channel, go to Offers, choose the source and select the items to import into Stock. Check the marks on items already imported. With several channels, compare SKUs especially carefully: one product card may correspond to several offers, and not every offer has to create a new item.
Choose how much order history to bring
In Orders, click Import history and set the range separately for each available source. The form shows the options that particular integration allows, for example the whole history or a set number of recent days. For some connectors, importing history is not available. The actual range also depends on the access the provider granted.
Judge completeness, and only then switch the process over
Compare a few of the oldest and newest orders from the declared range. Importing history can be repeated without creating another copy of the same order within that source, but do not treat that as automatic merging of different accounts or as migrating every note from another system. Agree which system carries out further actions.
Check: The sample of catalogue and orders matches the source, and one agreed process owns documents, stock and shipping.
What this chapter gives you
The catalogue and the chosen history are checked, and starting work in NavyFlame has clearly settled data sources and responsibilities.
The demo lets you learn the screens on sample data. You set up your own integrations once you have an account.
Explore the demoCreate a NavyFlame account