
Messages and e-mails that help the customer
Compose consistent confirmations, shipping notices and messages carrying documents. Handle replies from sales channels in the Service centre, within what the connected channel allows.
The customer gets legible information about their order, and the team follows one shared process instead of writing from scratch every time.
Step by step
Keep replies and automatic e-mail apart
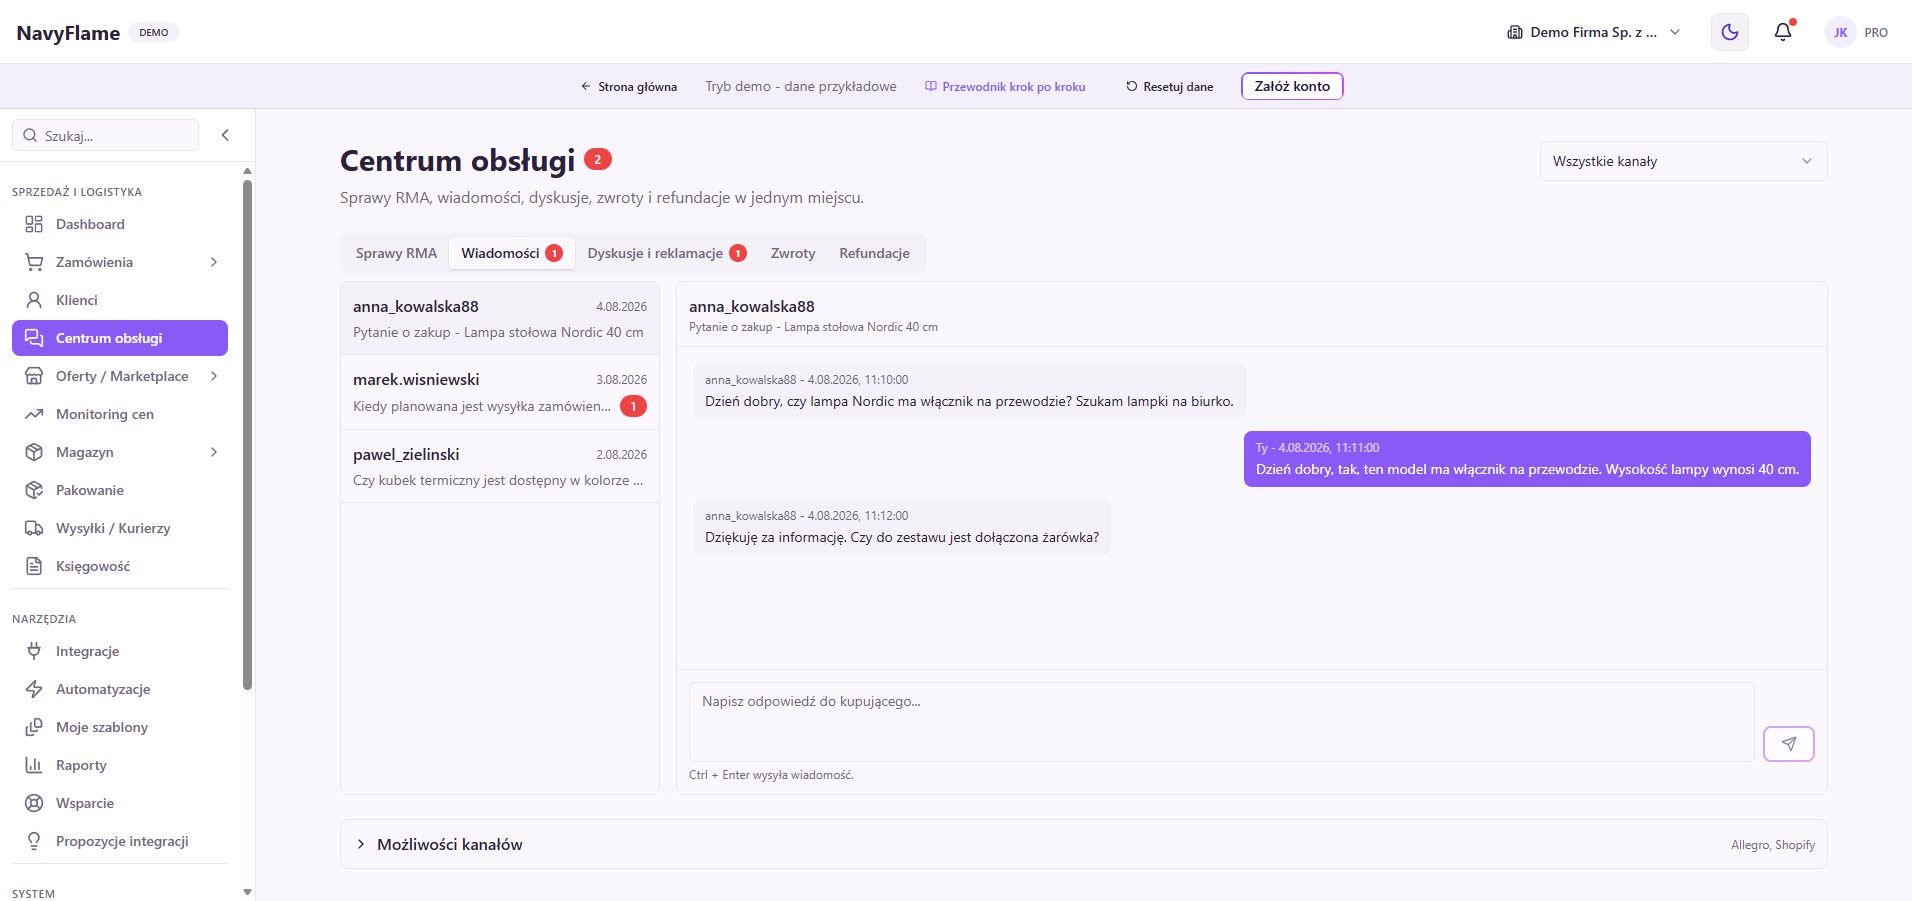
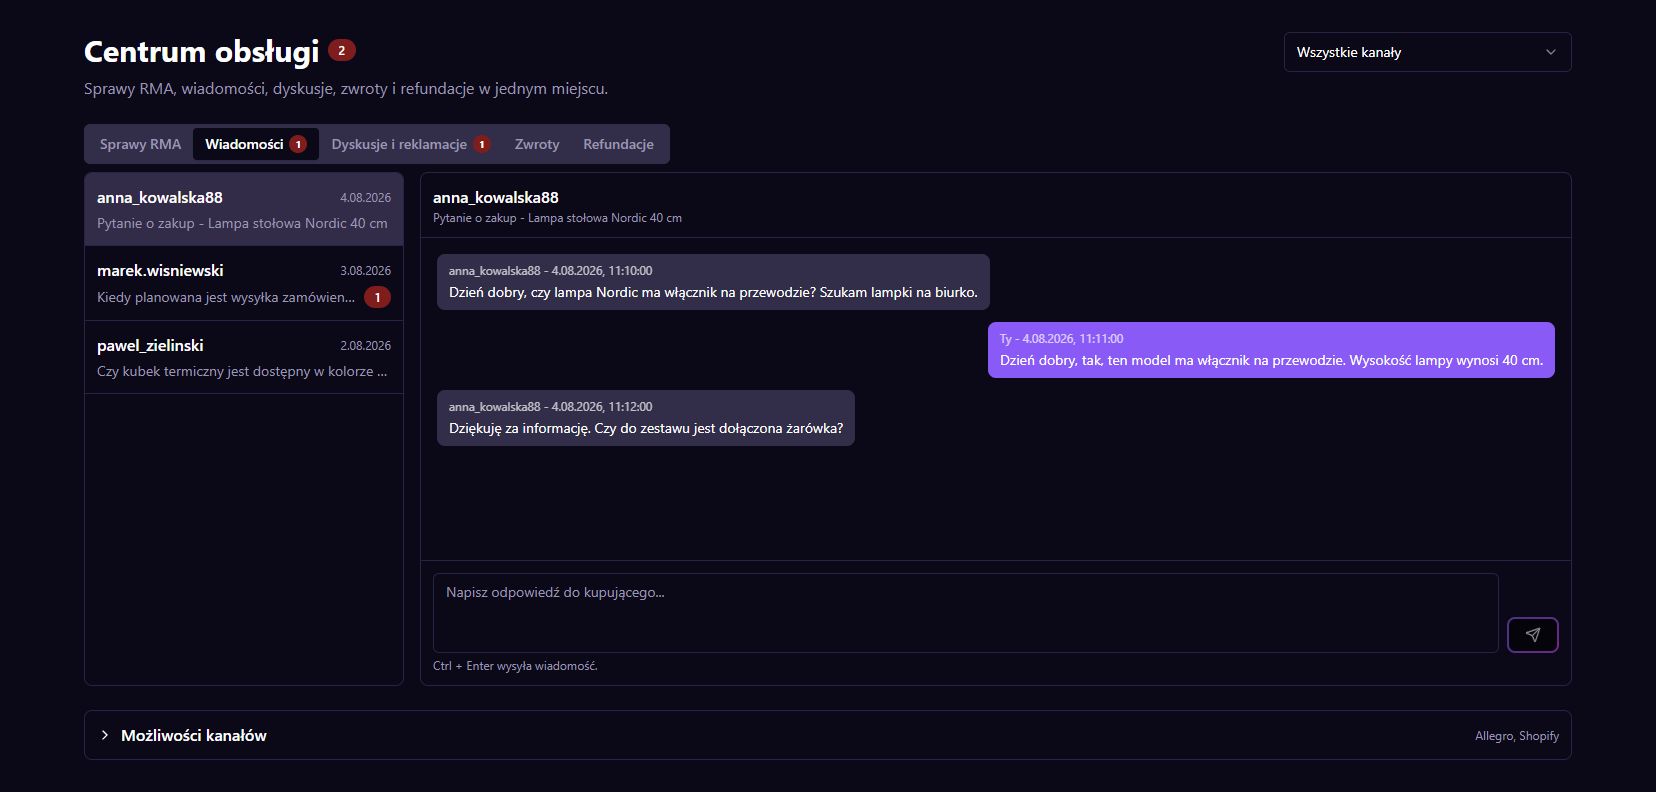
In the Service centre, open Messages to work with conversations handled by a connector. Configure automatic e-mails tied to order events under Automations, E-mail notifications. That way you know where to find a thread and where to find the sending settings.
Prepare the sending account
Connect an e-mail service following its form and instructions. The automation offers a choice of Resend, SendGrid, Mailgun or SMTP. Enter a company sender address and a Reply-To that you genuinely read. The sender name should be recognisable to the buyer.
Build the first template
Open Templates and create one. In the builder, choose the message type, an internal name, the subject and the body. Use a suitable example, such as a shipping notice. The preview helps check the layout, the text size and the content of variables before use.
Write the message around the customer's need
Give the order context in the subject. In the body, explain what happened, what comes next and how to get in touch. Do not type a fixed tracking number into a general template. Use the variables provided and check their result on sample data.
Add an e-mail automation
In E-mail notifications, create an automation. Choose the trigger, for example After an order is paid or After an order ships, a delay, the template, the mail provider and the sender. As recipient, choose the customer's e-mail from the order, or your own address for a controlled check.
Set up the message carrying a document
With the trigger After an invoice is issued, PDF settings appear. Choose whether to attach the file and what to do if fetching it fails. PDF availability depends on the accounting system; online fiscal registers need not provide such a file.
Check: The wording does not promise an attachment in a variant that may send the message without one.
Match the language and the exceptions
Set the default language and any rules by country or document type. Rules can choose a different template or skip sending. The language of document names does not translate the template's body: for an English message, prepare genuinely English text.
Verify delivery
Run a controlled pass with yourself as recipient and an event matching the automation. Open the e-mail logs, check the address, the state, the body and the attachment, then your inbox. Once it works, set the intended recipient and check the first ordinary send.
Reply with the full context
In the Service centre, choose the channel and the conversation. Read the history, check the order and the team's earlier replies. If sending is available, type your reply and send it once. Confirm it appears in the thread; where the connector is limited, use that channel's own panel.
Recipes you can use
The sales document in a message to the buyer
- Trigger
- In the e-mail automation, choose After an invoice is issued.
- Conditions
- A linked template and a working mail provider; the document was created in a system that supplies a supported PDF.
- Action
- Send the message to the customer from the order, attach the PDF and apply the chosen policy for a failed fetch.
- Checking the result
- Check the log and a test inbox, the right document, the order number and the language. Make sure the accounting system is not sending an identical second message.
What this chapter gives you
You have a consistent template, a verified delivery path and a clear split between automatic notifications and service replies.
The demo lets you learn the screens on sample data. You set up your own integrations once you have an account.
Explore the demoCreate a NavyFlame account