
Arrange the dashboard around your daily work
Learn the navigation and set up a repeatable daily review: connections, new orders, documents and anything needing attention.
Instead of starting in several sellers' panels, you open one view of the situation and move straight to what needs doing.
Step by step
Get to know the main areas of the panel
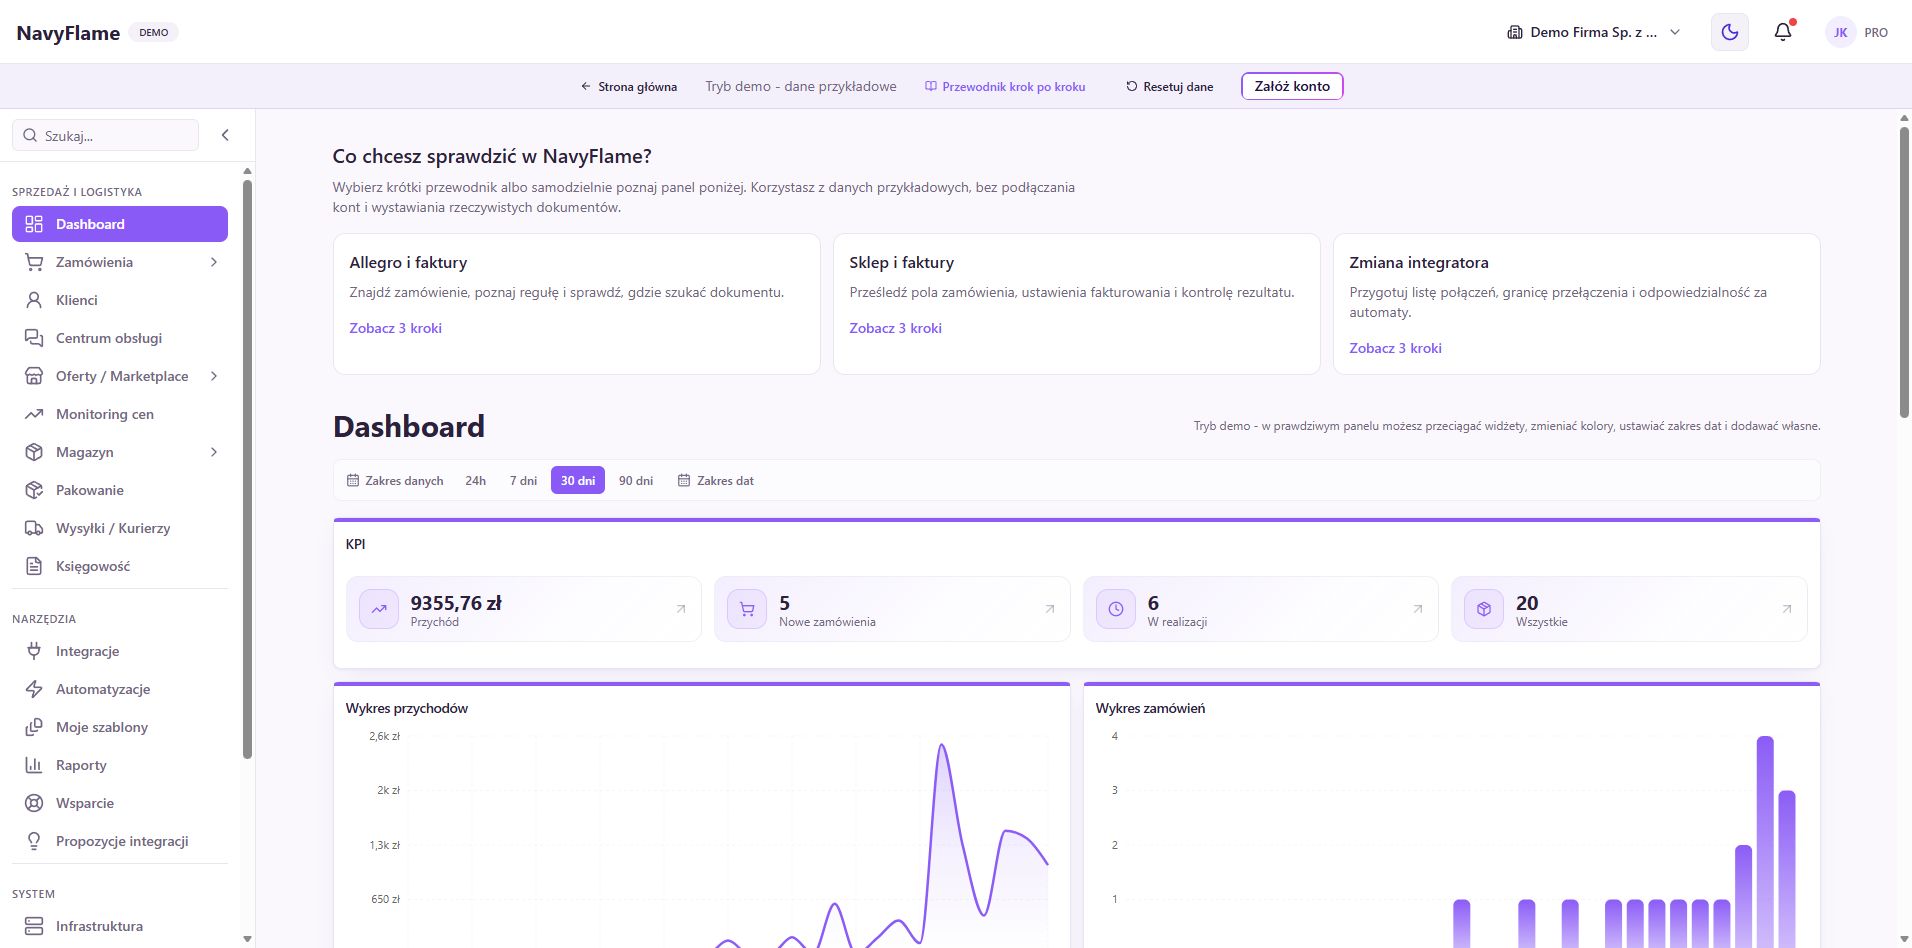
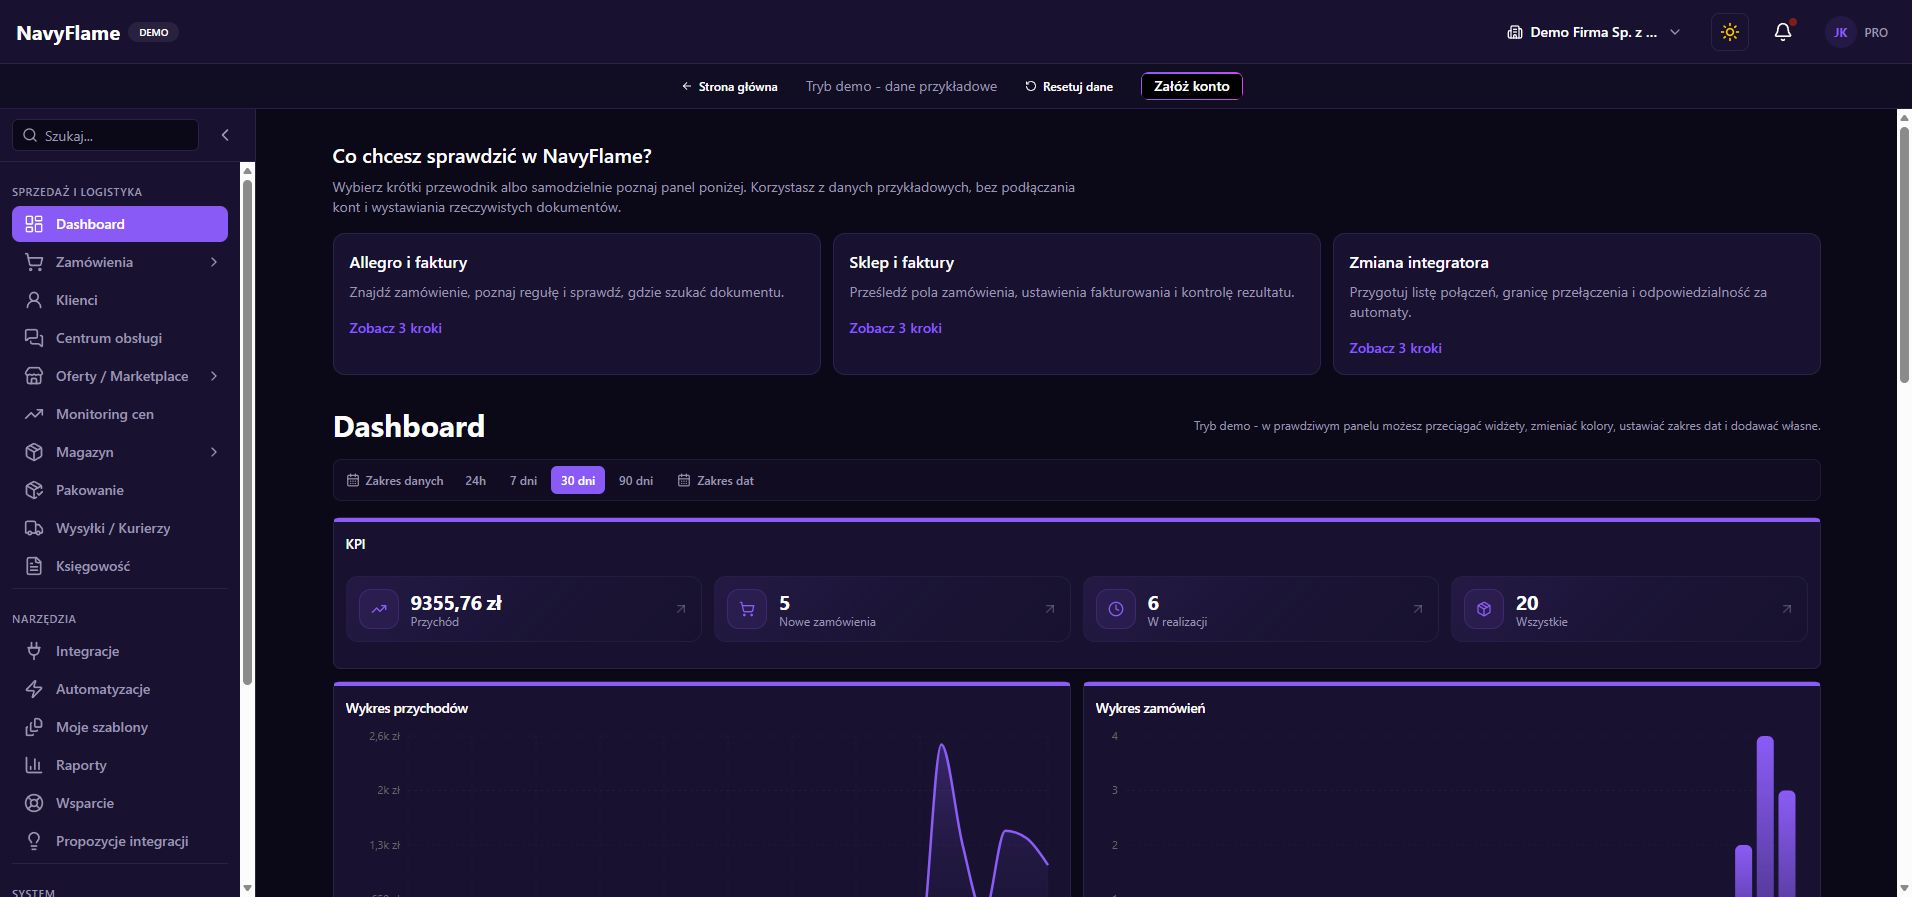
From the menu, work through Orders, Offers, Stock, Integrations, Automations and Accounting in turn. Orders is where selling gets fulfilled, Offers shows what is published in each channel, and Stock holds the tidy catalogue. What is available also depends on account permissions, so a member of staff may see a narrower set than the owner.
Set the data range on the Dashboard
In the Data range section, pick a ready-made period or your own dates. Use a short range for day-to-day work, and full, comparable periods for comparing sales. Before drawing conclusions, check that history has been pulled from every channel you are looking at and that the range covers the days you need.
Check: You can say which period the numbers on screen refer to.
Adjust the layout and the set of widgets
On the Dashboard page, use the layout editor and the widget catalogue. To begin with, choose sales results, recent orders, integration status and document status. Put them in the order that matches your decisions. Drag and resize the available elements, and save the layout with the editor's buttons when you are done.
Start the day with the connections
Check the integrations widget and go to Integrations if an error or a re-authorisation notice appears. No new orders does not always mean no sales. First establish whether the source is connected and pulling data, then compare the newest order with the shop's own panel.
Move on to the order queue
Open Orders and set the status, payment and source that suit the work in hand. Watch the dates and dispatch deadlines where the source passes them on. Separate orders that are ready to fulfil from those needing a payment, address or availability question resolved first.
Check the documents that need action
Go to Accounting and look through the document statuses. A pending document, or one that ended in an error, needs its details checked; the existence of an order does not mean an invoice was issued. Work out whether the problem is with the buyer's details, the provider's configuration, a rule, or delivery of the document.
Check: For a problematic document you know the reason and the next step, instead of redoing the whole order.
Finish the review with a quick look at the catalogue
In Stock, check the goods affecting today's fulfilment, and in Offers the rejected or inconsistent publications. If several people work here, agree who handles each queue. A shared view on its own does not replace a clear division of responsibility for price, stock and shipping.
Compare results once the data is in order
Use the channel charts and the best-selling products once imports and product identification are consistent. Sales figures describe the data the system holds. Before making a purchasing or marketing decision, check the date range, whether every source is complete, and how cancelled orders are counted.
What this chapter gives you
You have your own order for reviewing the day and know where to go for any particular problem.
The demo lets you learn the screens on sample data. You set up your own integrations once you have an account.
Explore the demoCreate a NavyFlame account