
From looking at the panel to your own account
Start with the process you want to put in order. Then create an account, pick a plan and prepare your own workspace.
The very first setup shows you whether NavyFlame fits how you sell: from pulling in an order through to the document and the shipment.
Step by step
Look at the demo with a concrete task in mind
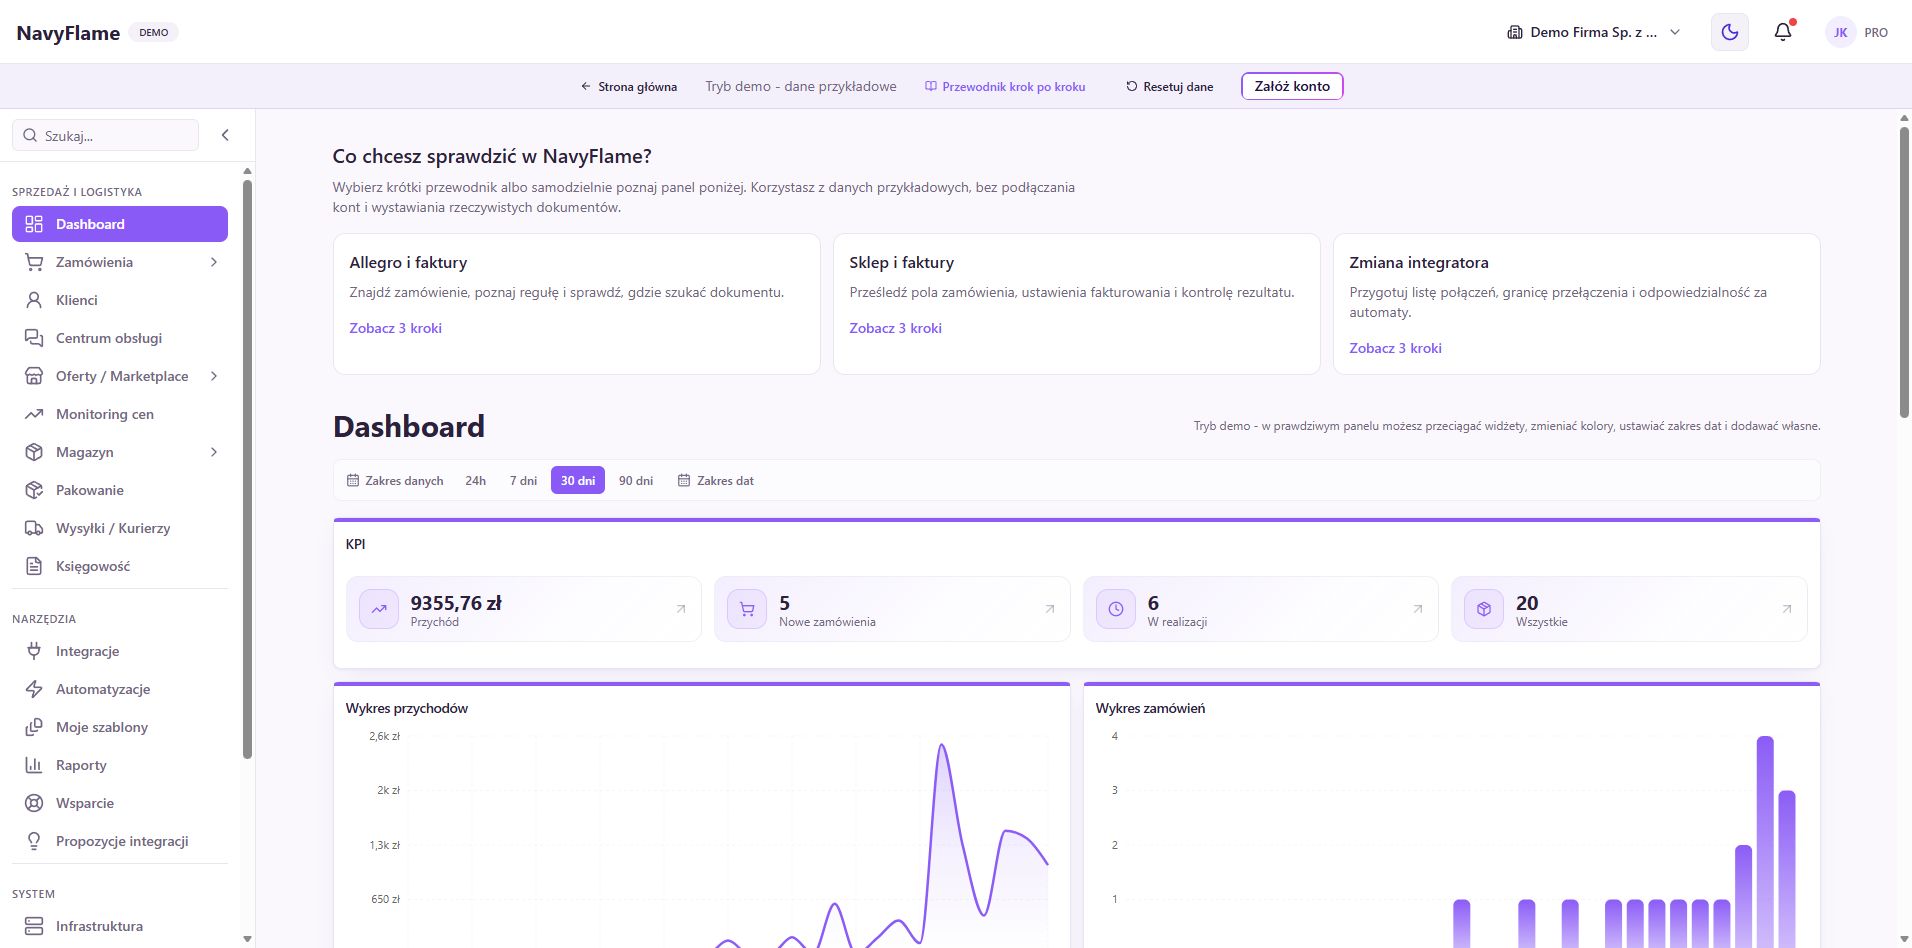
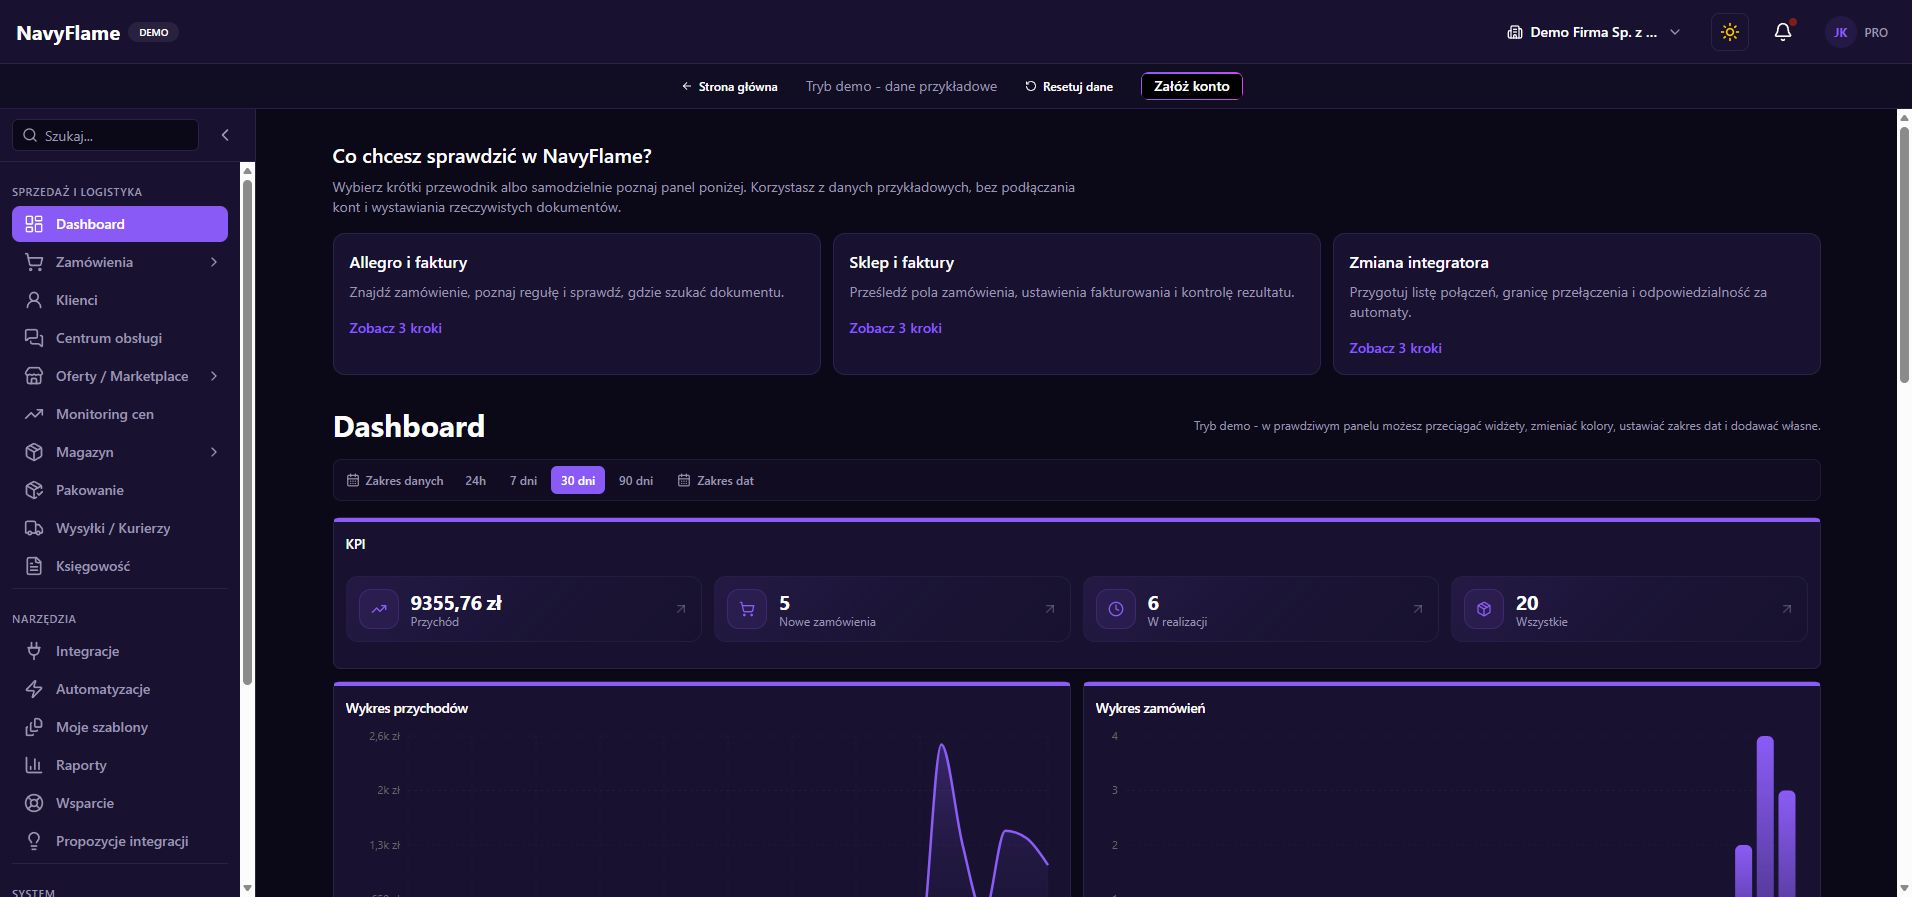
Open the demo and choose Dashboard, the overview of your selling. Then move on to Orders, Stock and Accounting. Pick a single scenario, for example handling a paid order from Allegro. The demo shows the panel on sample data. Connecting your own accounts, real sales and real documents need your own account and the matching integrations.
Check: You can point out where a member of staff will find the order, the goods and the accounting document.
Write down the scope of the first run
Have ready the name of one sales channel, access to its own panel, your company details, where stock levels come from and the name of the accounting system you use. Note who decides on prices, who packs and who resolves errors. That short set of decisions carries you through the following chapters without interrupting the setup.
Create an account through Registration
Give your first name, surname, e-mail address and a password meeting the requirements shown next to the form. Confirm the password and read the required consents. For the owner account, use an address the company will keep access to. If you already have an account, choose Sign in rather than creating another.
Check the message about your e-mail address
After registering you may be signed in automatically and taken to the plan selection. Open the message confirming your address and do what it asks. If you cannot see it, check the spam folder and the address you typed, and use the resend option where the panel offers one.
Compare the current plans
On the plans page, check the range of features, the limits, the billing period and the price matching your case. Weigh them against your order count, the size of your catalogue and how your work is organised. Read the length of any trial and the payment terms from the current offer and the order summary, because they depend on the plan.
Check: You know what amount will apply, and for what period, after any trial.
Fill in the order details and pick your panel address
Work through the purchase form, check the billing details and the final summary. Then follow the screens for choosing a subdomain and preparing the environment. Pick a name your team will recognise. Wait for confirmation that everything is ready before you start connecting shops and importing data.
Work through the Tutorial steps
Open the Dashboard and use the Tutorial card: fill in the company details, check the subscription, add the first integration and set up an automation. Some steps offer Show me how. A staff account may see a shorter list, because managing the subscription is the owner's job.
Define what a successful roll-out looks like
Write down one verifiable result: a correct order from the chosen shop, matching SKUs, the right document and shipping handled properly. Walk that path by hand first, on a suitable order. Only once it is confirmed should you extend the setup to further channels and automatic actions.
Check: You have an account, a working panel and a short list of things to verify on your own data.
What this chapter gives you
You know why you are rolling out NavyFlame, you have access to your own panel and you can set up the first complete sales process.
The demo lets you learn the screens on sample data. You set up your own integrations once you have an account.
Explore the demoCreate a NavyFlame account