
Set up the company, the people and their access
Fill in the billing details, invite the team and grant access that matches what each person actually does.
Everyone works from their own account, and the company details and responsibility for handling orders are in order from the start.
Step by step
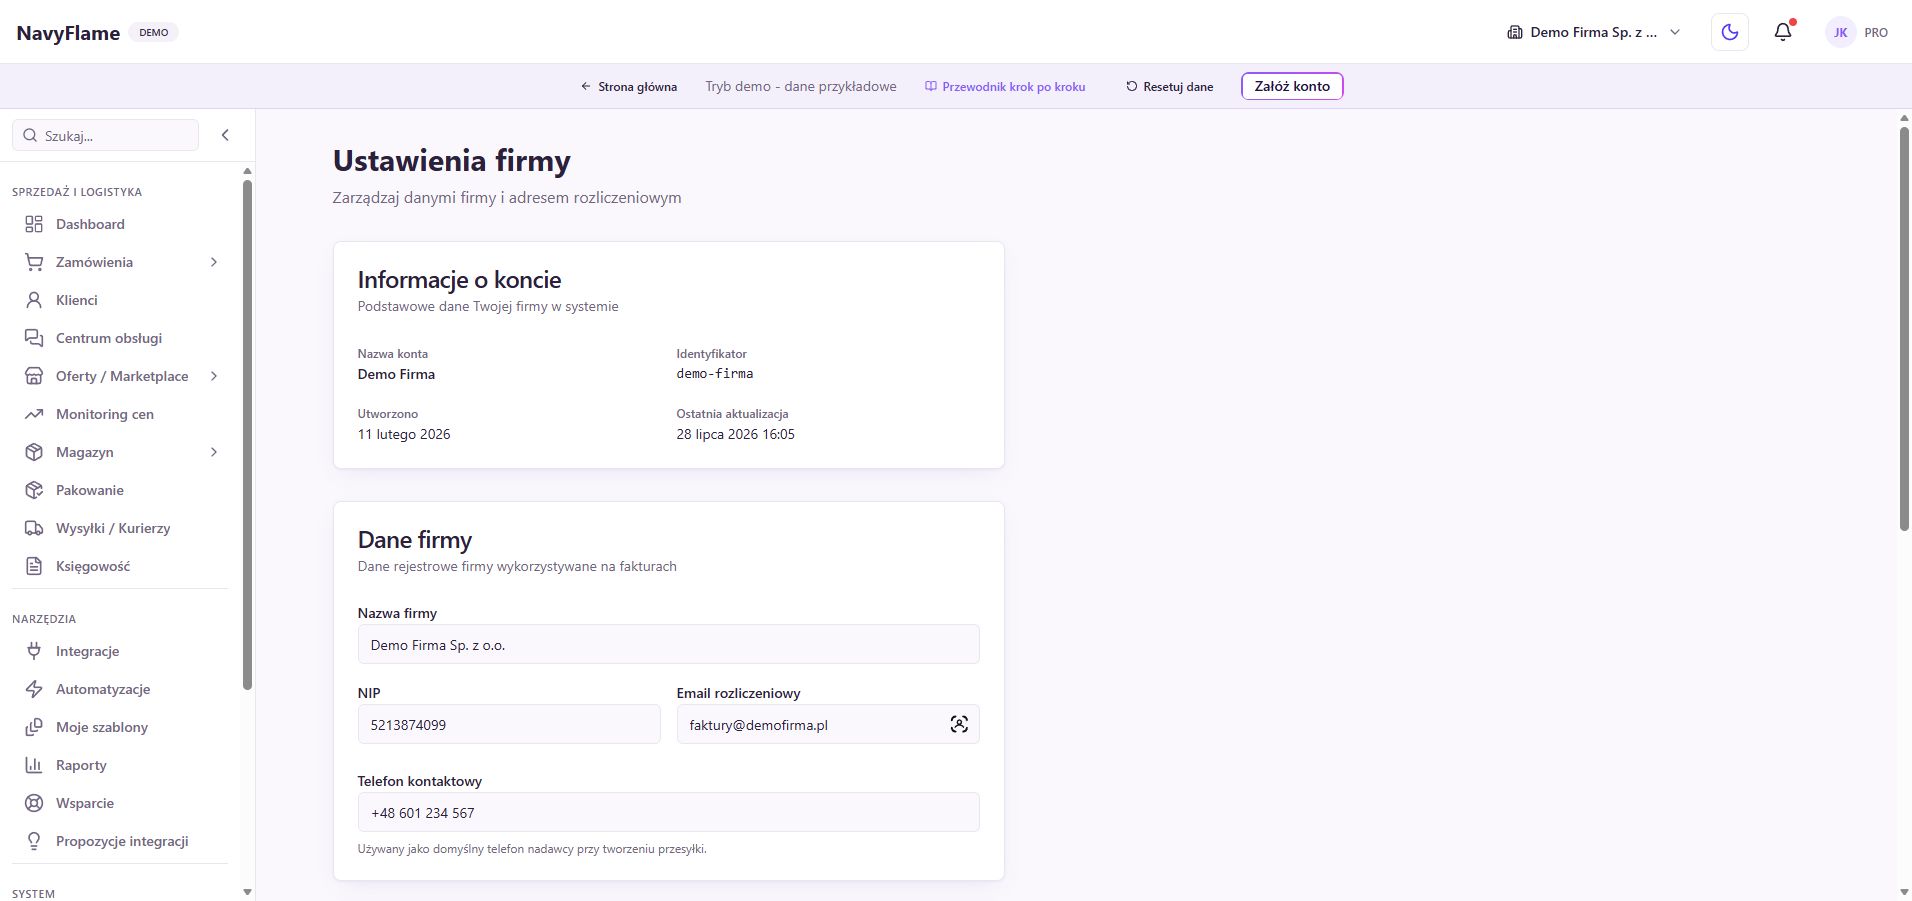
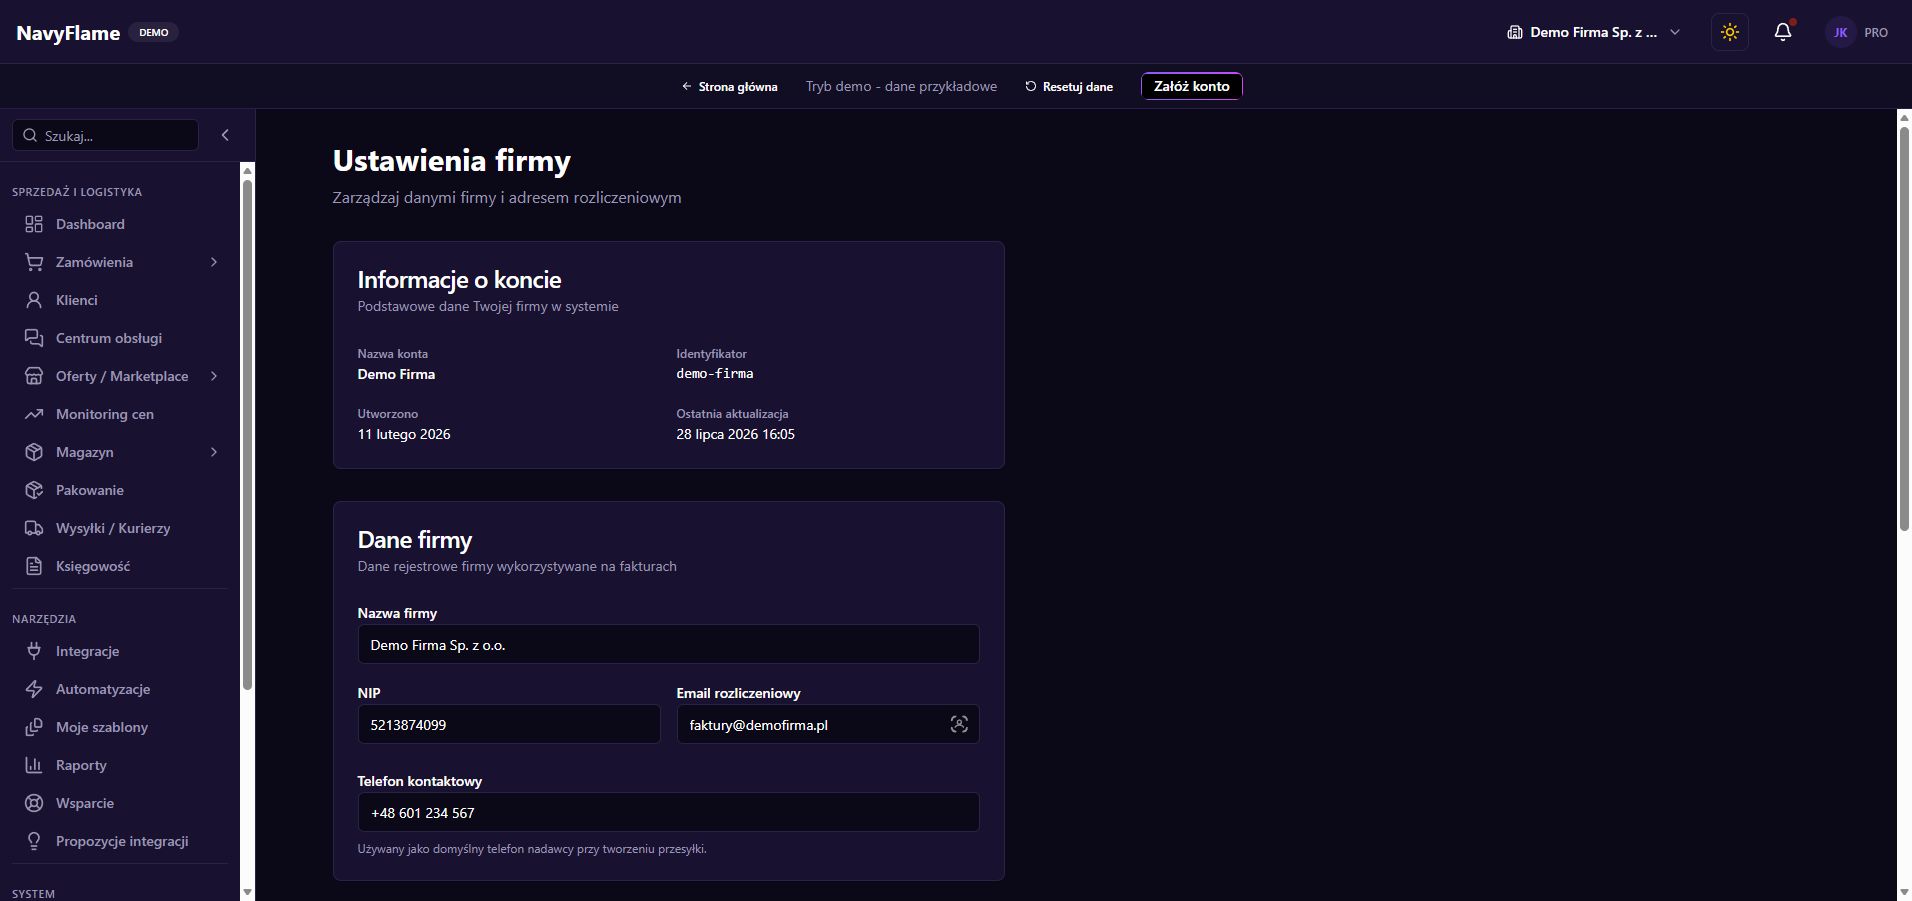
Open the company settings
In the account area, go to the company details. Check the account name, then fill in the company name, tax identification number, billing e-mail and contact phone. Use the details of the entity holding the subscription. The issuer shown on sales documents is something you check additionally in the connected accounting system.
Save the full billing address
Fill in the street, building number and any unit number, postal code, town, region and country. Click Save changes, then read the details back after saving. Pay attention to the billing e-mail address, which often should differ from the address of whoever handles orders.
Check: The saved form shows the correct entity and address, without the details of someone who is merely running the roll-out.
Complete your own profile
Go to Profile, check your first name, surname and time zone, then save. The right time zone makes working with dates easier and helps you compare events with the shop's panel. Treat the account address as an individual identifier for access, even if several people hold the same role in the company.
Look after the account password
If you need to change the password, use the Change password section in Profile: enter the current password, the new one and its confirmation. Use a unique password kept in a password manager. Protect access to the mailbox tied to the account as well, using whatever its provider offers.
Invite the first member of staff
Open Users, click Invite, give an individual e-mail address and click Send invitation. Ask the person to open the message and accept access on the right account. The Pending invitations list shows who has not joined yet.
Review the roles and the permissions attached to them
In Users, click Manage roles. Look through the existing roles and their read and write scope before creating your own. Someone who packs usually needs a different set of actions from someone who manages prices. Name the role so the team understands what it is for, and assign it to the right person.
Check the access from the staff account
Ask the invited person to sign in and carry out an ordinary task from their own duties. Verify that they can see the page they need and use the right button. Do not test permissions from the owner account alone, because it has a different scope of access to the panel.
Check: The member of staff completed the task from their own account and knows who to tell if access is missing.
Tidy up invitations and later changes
Cancel any pending invitations that are no longer needed. When someone's duties change, change the roles assigned to them; when they leave, withdraw access using the operation available in the panel. Keep someone responsible for the owner account and the subscription. It is worth repeating this review after every change in the team.
What this chapter gives you
The company details are correct and every person on the team has their own access, matching their work.
The demo lets you learn the screens on sample data. You set up your own integrations once you have an account.
Explore the demoCreate a NavyFlame account