
Shipping, carriers and labels ready for work
Set up how you dispatch your commonest parcels. A sender entered once, the right service and printing configured shorten the handling of every order after that.
Staff press a prepared dispatch button and the order data helps fill in the shipment. Less retyping means fewer chances to get an address wrong.
Step by step
Connect the carrier you use
Open Integrations, add the right carrier connector and fill in the details its form asks for. Follow the instructions for that particular integration. Check that you are choosing the right sending account and environment before you create the first paid label.
Check: The integration is active and the carrier appears when creating a shipment.
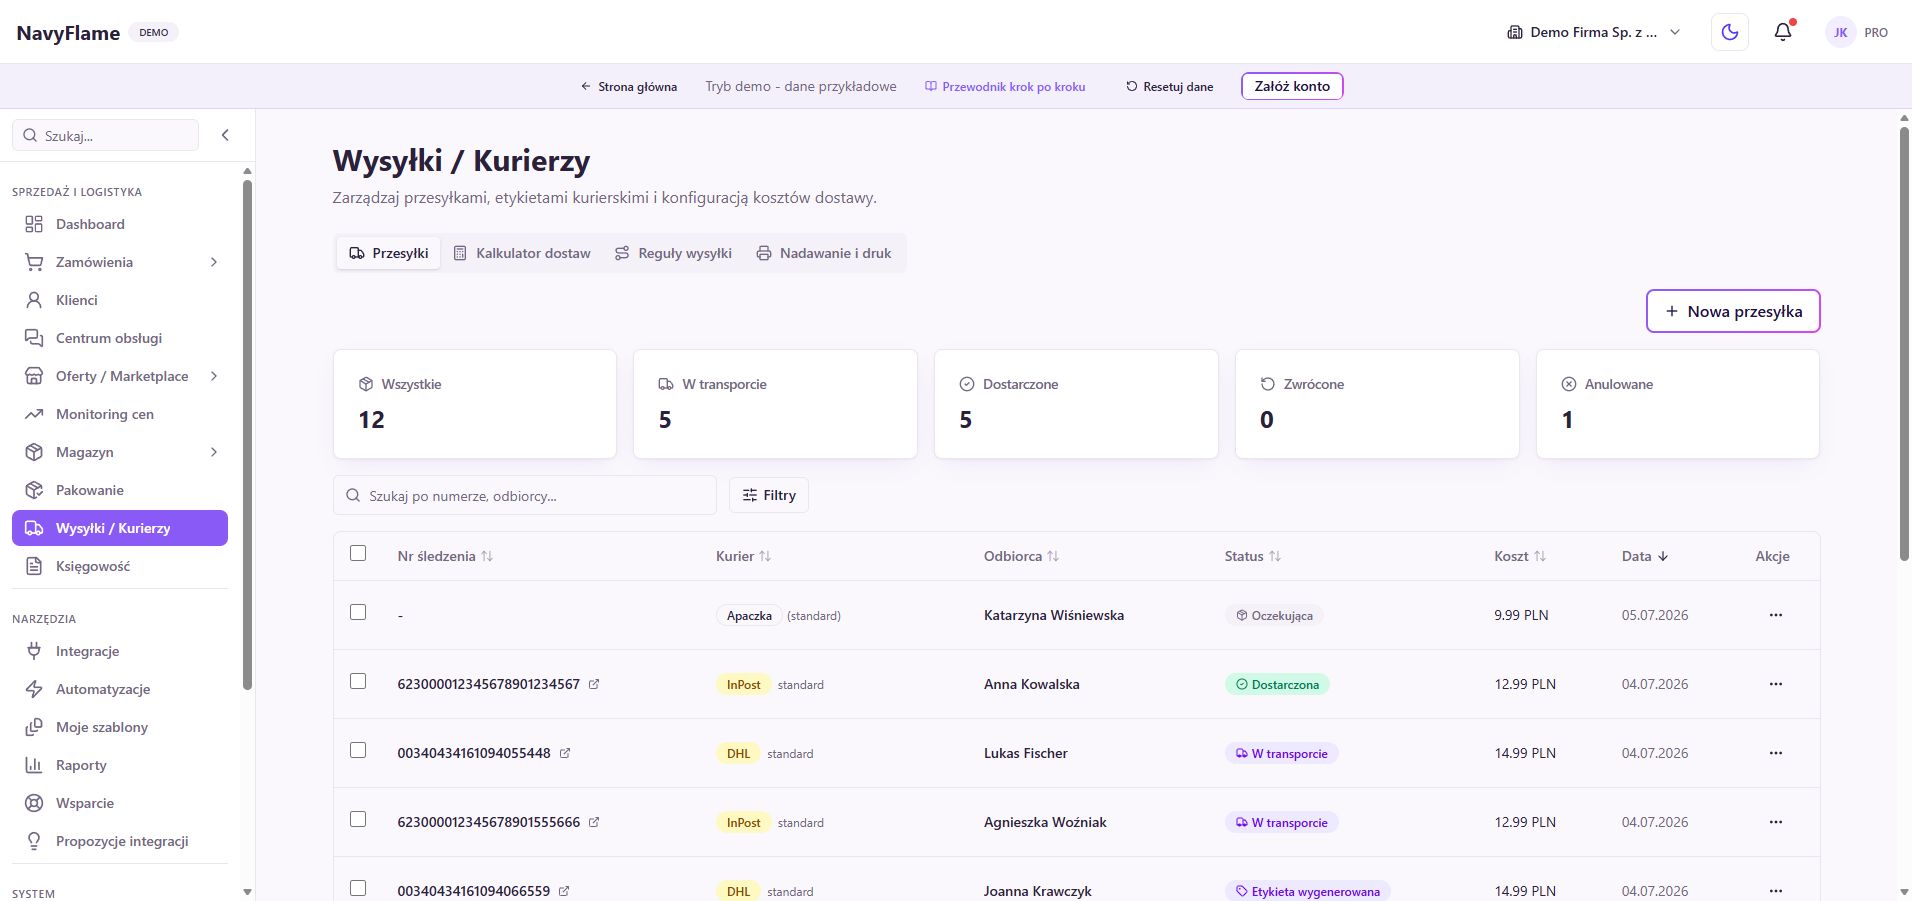
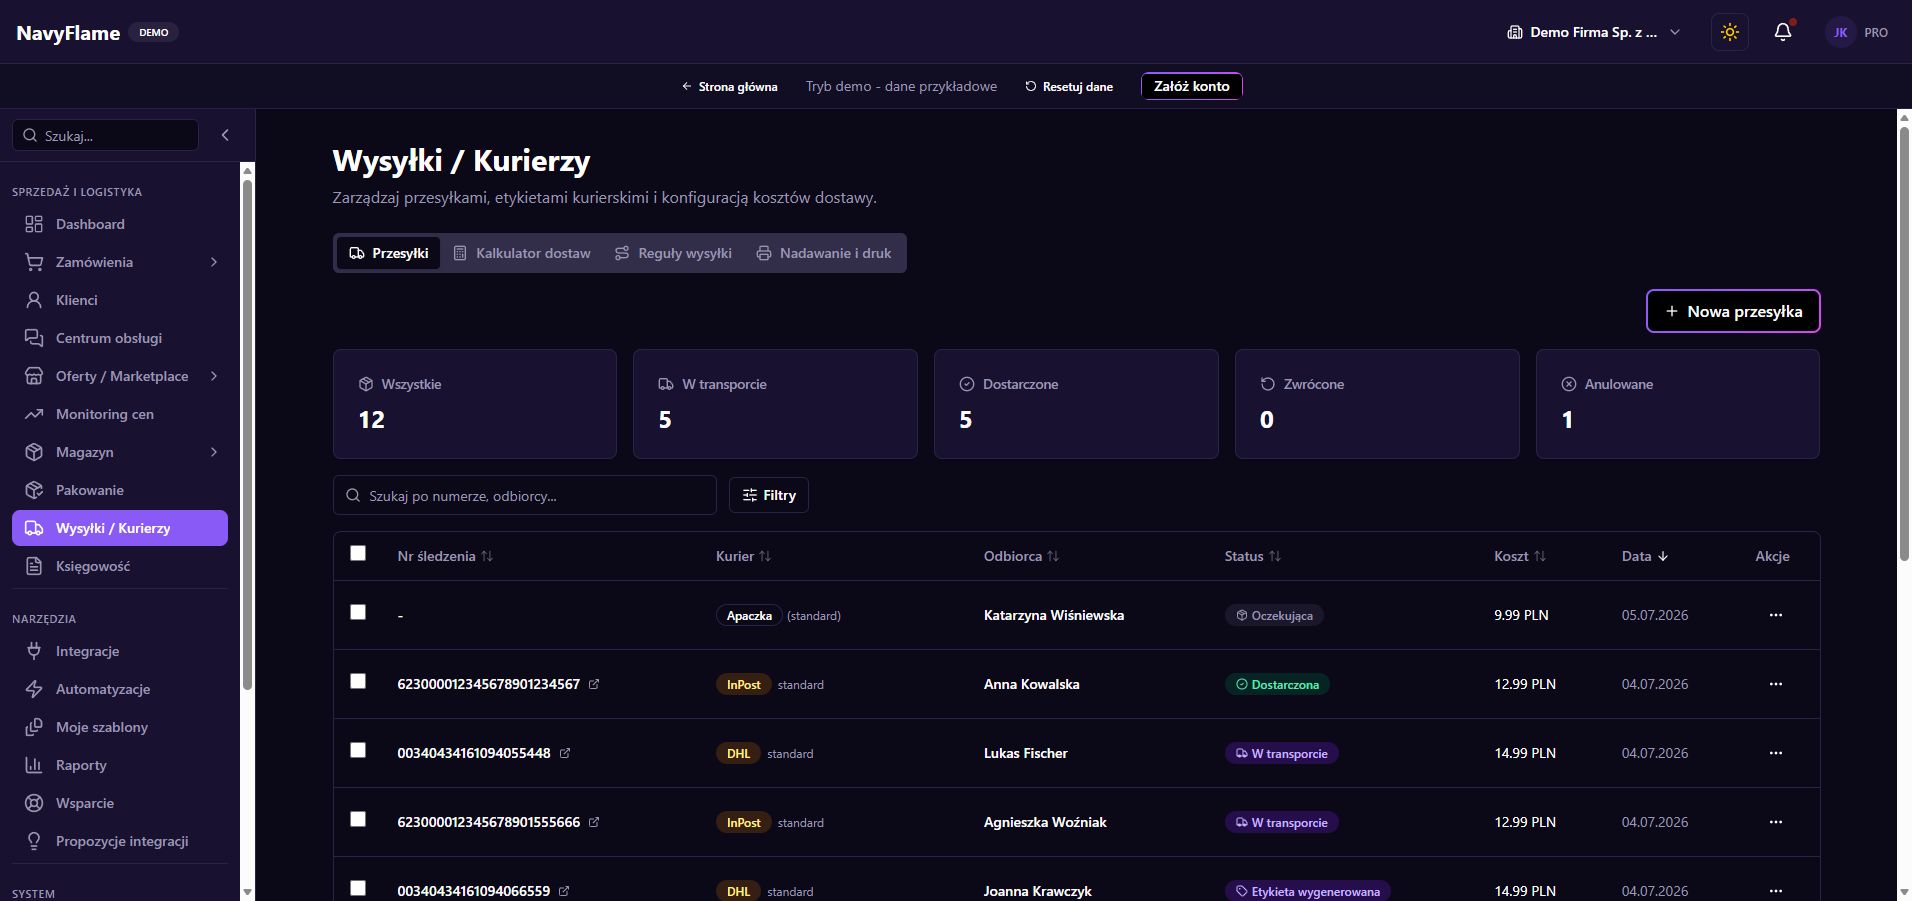
Open Shipping / Carriers
In the Shipments tab, get to know the list and the filtering. Click New shipment and work through the recipient, sender and parcel details. When you start from an order, compare the suggested details with the delivery method the customer chose.
Check the service and the parcel parameters
Choose the carrier and a service available on that account. Fill in the weight, dimensions, pick-up point or size class where they are required. Cash on delivery, insurance, cancellation and booking a collection depend on what the particular connector can do.
Check: The recipient, the delivery method and the parameters match the actual parcel.
Save your commonest case in Shipping rules
Go to the Shipping rules tab. Set the button name, the carrier, the service, the sender and the default parcel parameters. Give it a legible name, for example "Locker, size B". Colour and order help staff recognise the variant at the bench.
Decide when a label is ordered
Under Dispatch and printing, check the Label ordering field. You can respect the template's setting, always order straight away, or only prepare drafts. To begin with, keep the confirmation step for bulk dispatch, so you can check the selected orders before buying labels.
Match printing to your printer
In the same tab, choose the Print layout: original for labels, or four labels on A4. For automatic printing, point at the browser or PrintNode. For PrintNode, connect the account, choose the printer and the number of copies. Save the settings.
Check: A test label comes out the right size, with a legible code, on the printer you chose.
Dispatch one real parcel
Choose a ready order and the right template. Once the label is created, open the shipment and check the tracking number and the printout. Confirm the result on the carrier's side too, and that the number was passed to the sales channel if the connector supports that operation.
Only then handle a batch
Select a small group of similar orders and dispatch them together. On the shipment list you can select finished labels for printing. If one item reports an error, resolve it separately and check which shipments already exist.
Use the calculator as pricing support
In the Delivery calculator, set the Delivery options, Shipping zones and any product exceptions. Those settings help work out costs. The rates and delivery terms buyers see on a marketplace are configured separately in that channel.
Recipes you can use
A repeat parcel from a single button
- Trigger
- In the Shipping module you choose the quick dispatch template for an order.
- Conditions
- A verified carrier account, a correct address, a matching service and parcel parameters.
- Action
- The template fills in the sender and the parameters; the label setting decides between a draft and an order, and the print settings decide the printout.
- Checking the result
- Check one shipment first, its number and its label. Only then use the same variant for a batch.
What this chapter gives you
You have a verified path: order, shipment, label, printout and tracking. Further parcels can use the saved settings.
The demo lets you learn the screens on sample data. You set up your own integrations once you have an account.
Explore the demoCreate a NavyFlame account