
Wholesalers, deliveries and checking real stock
Connect your supply sources and make sure the stock level matches what you actually hold. Receiving a delivery and stocktaking serve different operations.
Legible SKUs, locations and quantities are the basis of confident packing and of publishing availability in the channels you support.
Step by step
Open Wholesalers
Check the list of existing connections before adding another. If a source is already configured, go into editing it. For a new one, choose to add a wholesaler and the right connector available. Name the connection so the supplier and the account in use can be told apart.
Establish what the supplier provides
Read the form and the source's instructions. Fill in the address, file or access details required. The scope of catalogue, stock and prices depends on the connector and on the supplier's data. Do not assume every wholesaler connection also allows purchase orders.
Check a sample of the imported products
Compare the name, SKU, EAN, unit, price and availability of a few items with the supplier's data. Check the variants and how they link to your own warehouse. Only after that check should you extend publishing or synchronisation to a larger catalogue.
Check: The same goods carry the right link, without creating needless duplicates.
Prepare the warehouse locations
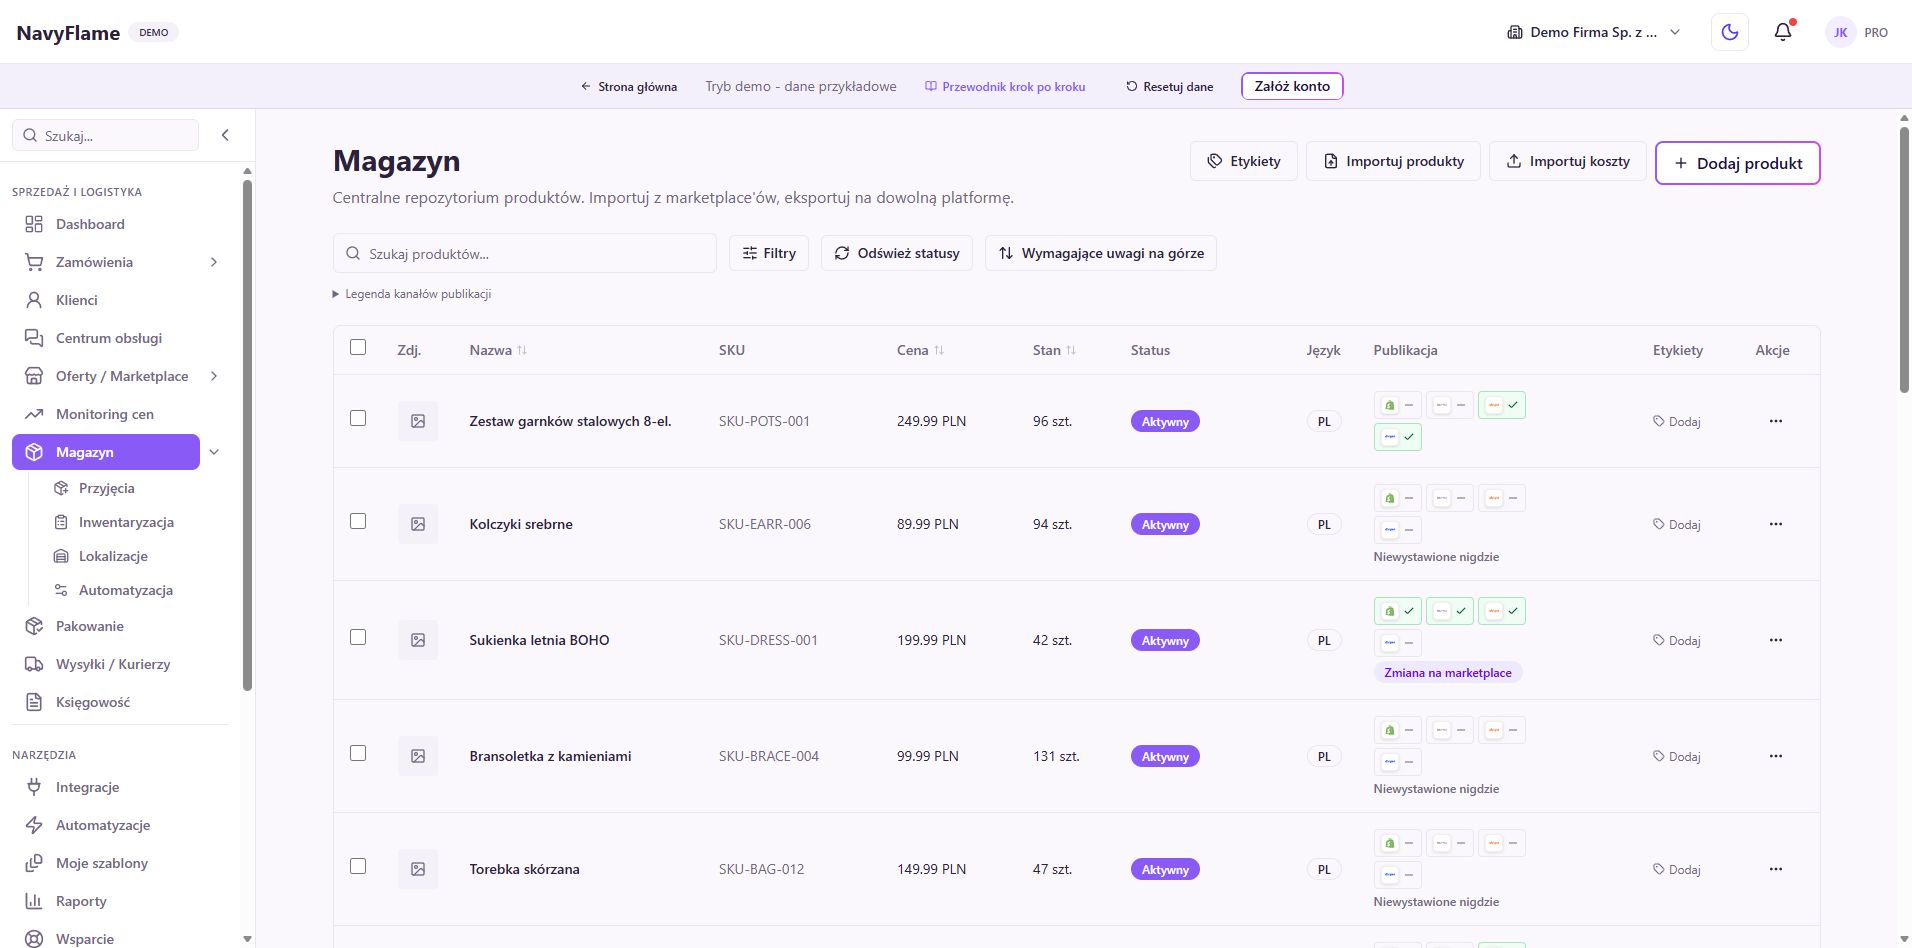
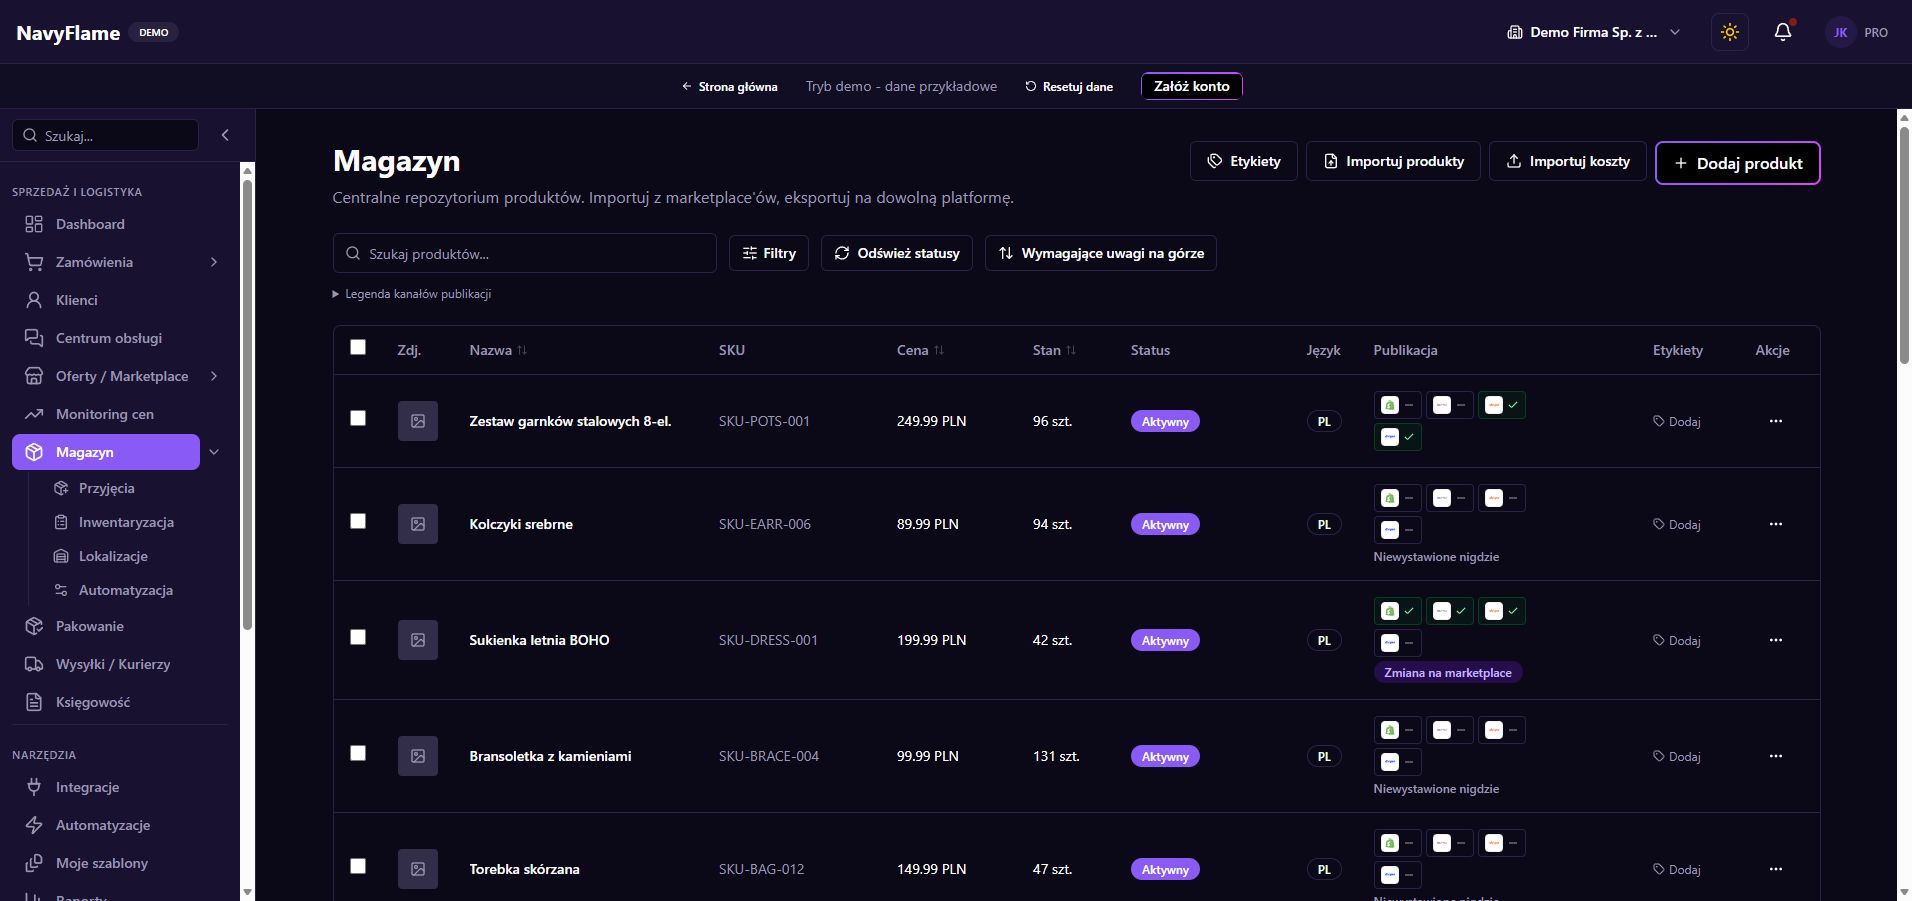
In Stock, Locations, define the places your business uses. The names should be unambiguous to staff. Open a sample product card and check how stock is assigned. The location chosen on a document decides where a change in quantity lands.
Start receiving a delivery
Go to Stock, Goods receipt. In Document settings, choose the location and type a legible reference to the delivery. Click Start receipt. Have the quantity actually received ready, not merely the number from the supplier's advice note.
Enter the items received
Scan or type the product code and the quantity, using Enter or adding by hand. A camera scanner is available too. Compare the product recognised with the physical goods, and remove a wrong line before confirming. Watch fractional units if you use them.
Confirm the receipt and check the result
Having checked the lines, click Confirm receipt. The operation adds the received quantities to the stock at the chosen location. Look at the summary, then the level of at least one product. Clear up an empty document, or one against the wrong location, before the next delivery.
Check: The level rose by the quantity received, rather than being replaced by the delivery quantity.
Count the stock through Stocktaking
In Stock, Stocktaking, choose the location and a name for the count. Start the document, enter the products and the counted quantity. See the differences against the system level. While counting, limit parallel movements of the same items, so the result has one clear point of reference.
Confirm the counted quantities
Click Confirm stocktake once you have checked the differences. For the items covered, the location's level is set to the counted values. Check the product card and the result of any further availability synchronisation where it is configured. Investigate the cause of larger discrepancies.
What this chapter gives you
The supply source is recognised, products have verified links, and staff can tell a receipt from a correction by counting.
The demo lets you learn the screens on sample data. You set up your own integrations once you have an account.
Explore the demoCreate a NavyFlame account