
Connect your first sales channel
Choose an integration, go through the authorisation the provider requires and check the first data from a specific account.
Orders from your channel land in one shared place, from which you can run the rest of the sales process.
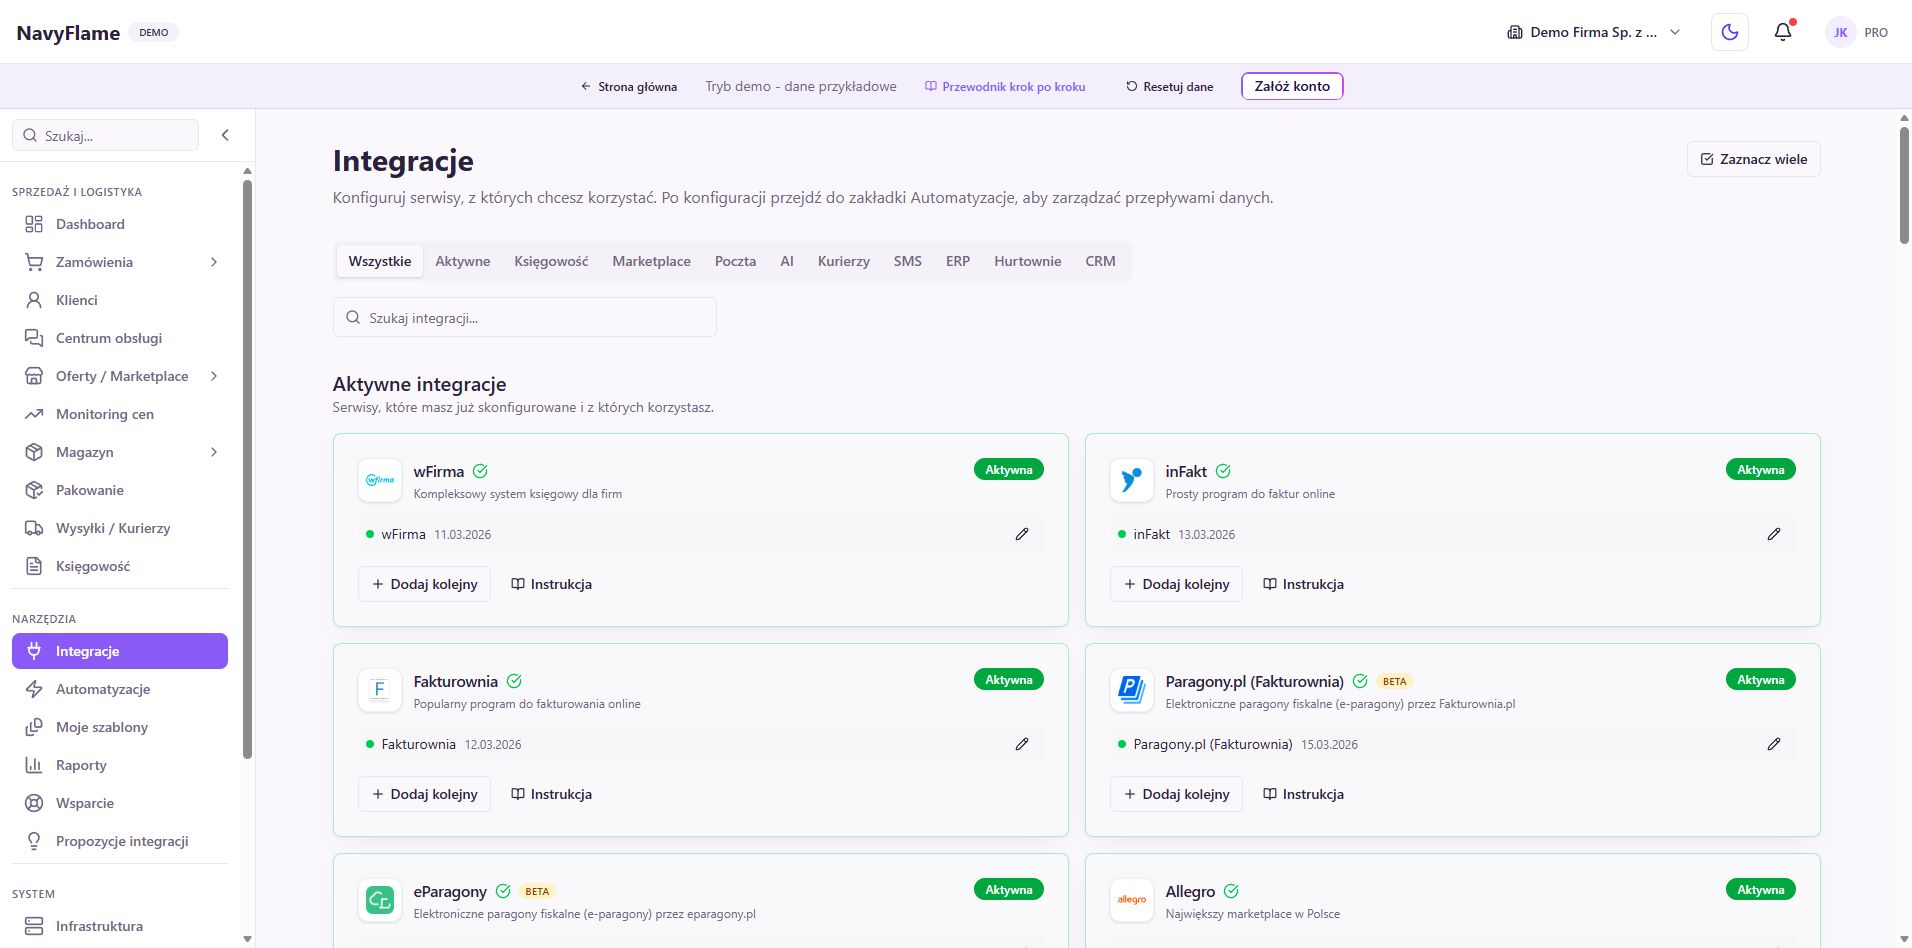
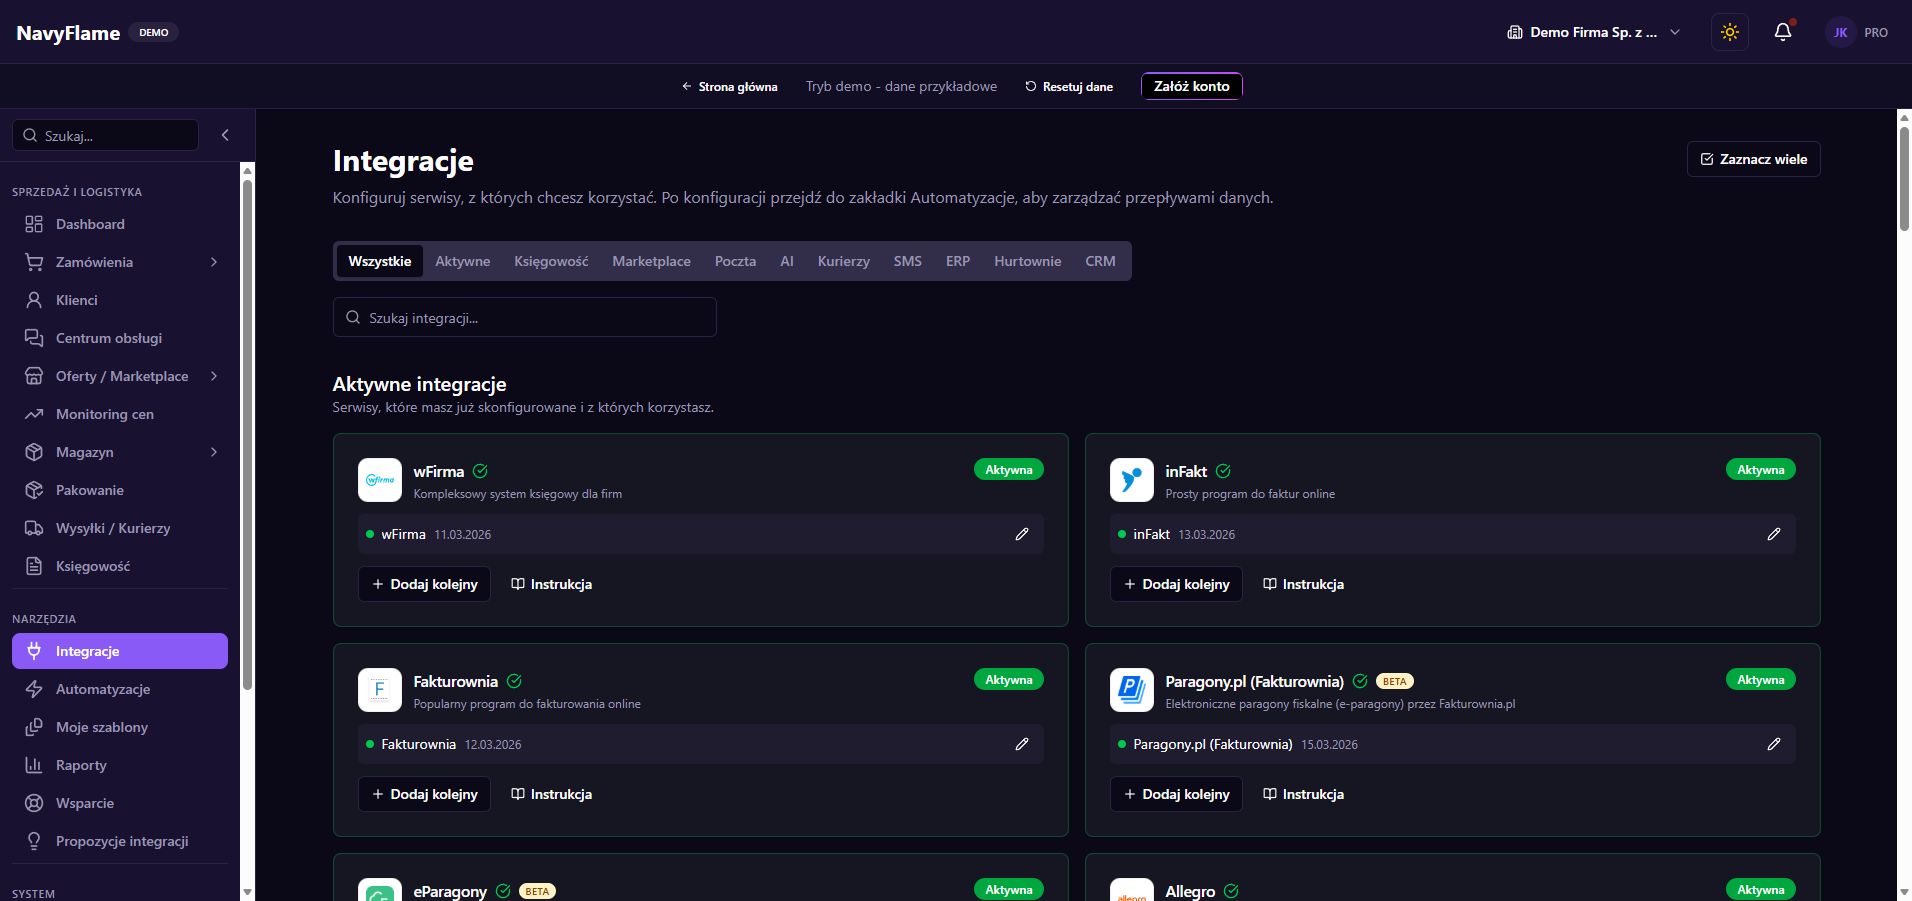
Step by step
Pick the service in Integrations
Open Integrations, find the channel by name and choose Configure. Read the instructions for that service. The forms differ in how you sign in and in the range of actions supported. To begin with, connect an account whose orders and offers you can easily compare in the source panel.
Give the connection an unambiguous name
Use a name that points to the brand, shop or market, for example Main shop PL. If you have several accounts on the same platform, each should be recognisable without looking at credentials. Check the environment and the country of sale too, if the form shows those fields.
Check: You can match the integration name to one specific seller account without ambiguity.
For Allegro, use account authorisation
Enter the Allegro account name and choose Production for real selling. Click Connect to Allegro, sign in to the right account in the Allegro window and accept the access. On returning, the authorisation details fill in by themselves. Use Next to go to the summary; do not create your own application just for this form.
For WooCommerce, prepare REST API keys
In WordPress go to WooCommerce > Settings > Advanced > REST API and add a key for an authorised user with Read/Write scope. Copy the Consumer Key and Consumer Secret. In NavyFlame, give the shop address with https:// and both keys. The address should point at the shop, without a /wp-admin or /wp-json ending.
For Shopify, follow the dedicated instructions
Open the Shopify instructions linked under this chapter. They walk you through creating an app, the data scopes required, releasing a version and installing it on the shop. What goes into the NavyFlame form is the domain in the form your-shop.myshopify.com, the Client ID and the Client Secret. Check access to customer data and older orders if you need the history.
For other services, use their own fields
Do not copy the sign-in method from another marketplace. Kaufland, for instance, needs a Client Key and Secret Key plus the right country, while IdoSell needs the panel address and an API key. The full sequence is in the instructions for that particular integration. The account and the credentials must belong to the same service and the same environment.
Test and save the connection
Use Test connection and read the result. If the test reports an error, check the address, the account chosen, the access scope and whether the keys are complete. Once the result is good, finish saving the form. The test confirms the access that service checks, but it does not replace checking an order and an offer after the first synchronisation.
Check: The saved integration points at the right account and the connection test came back clean.
Compare the first result with the source panel
After a pull cycle, open Orders or Offers and look for a specific number you know from the seller's panel. Compare the source account, the amount, the line items and the date. In many integrations orders are pulled on a schedule, so they need not appear the instant a purchase is made. History is pulled in a separate step.
What this chapter gives you
You have a connection to a clearly labelled account and confirmed data from your first sales channel.
The demo lets you learn the screens on sample data. You set up your own integrations once you have an account.
Explore the demoCreate a NavyFlame account