
Connect the accounting and set up documents
Choose an accounting provider, check the numbering and prepare the rules for issuing documents against the right orders.
Order data can feed a document in your accounting system, and you check the result and any problems while handling the sale.
Step by step
Connect the right accounting system
In Integrations, choose the provider you use and follow their authorisation instructions. Test the connection. Verify that the connected company is the correct issuer of documents and has the right address, bank account and other settings. How you supply a key, an account name or permissions depends on the service chosen.
Review the documents that already exist
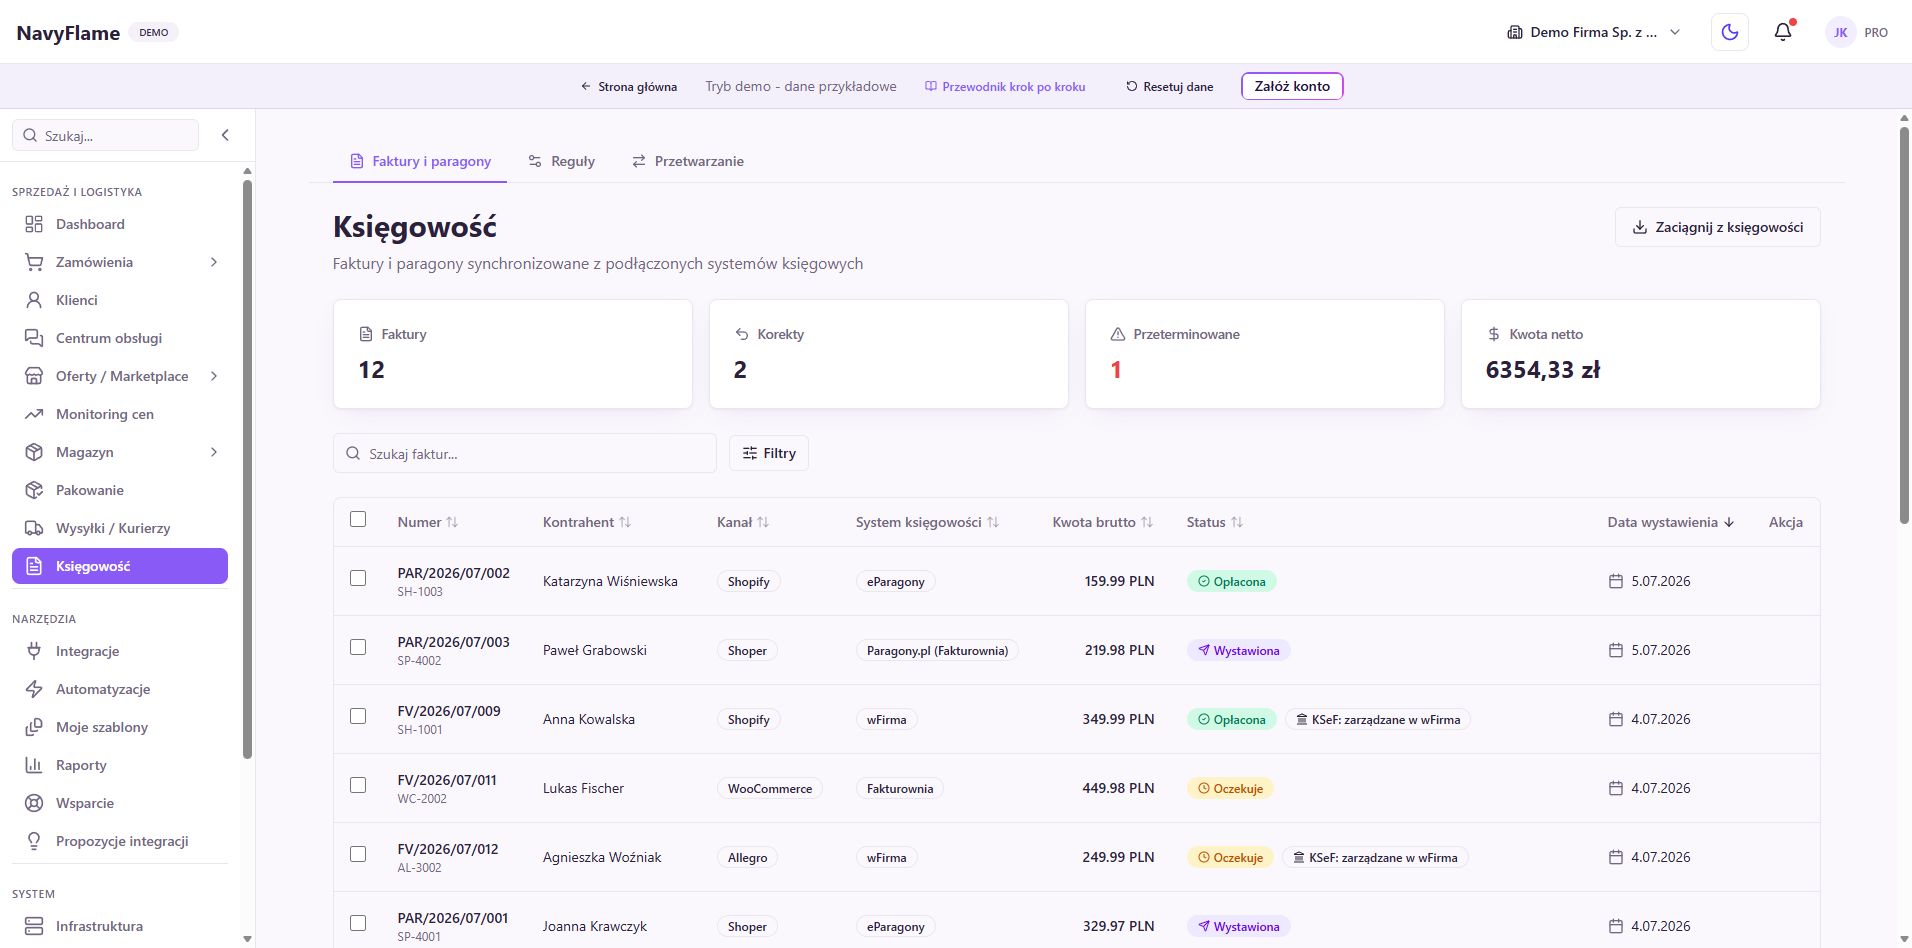
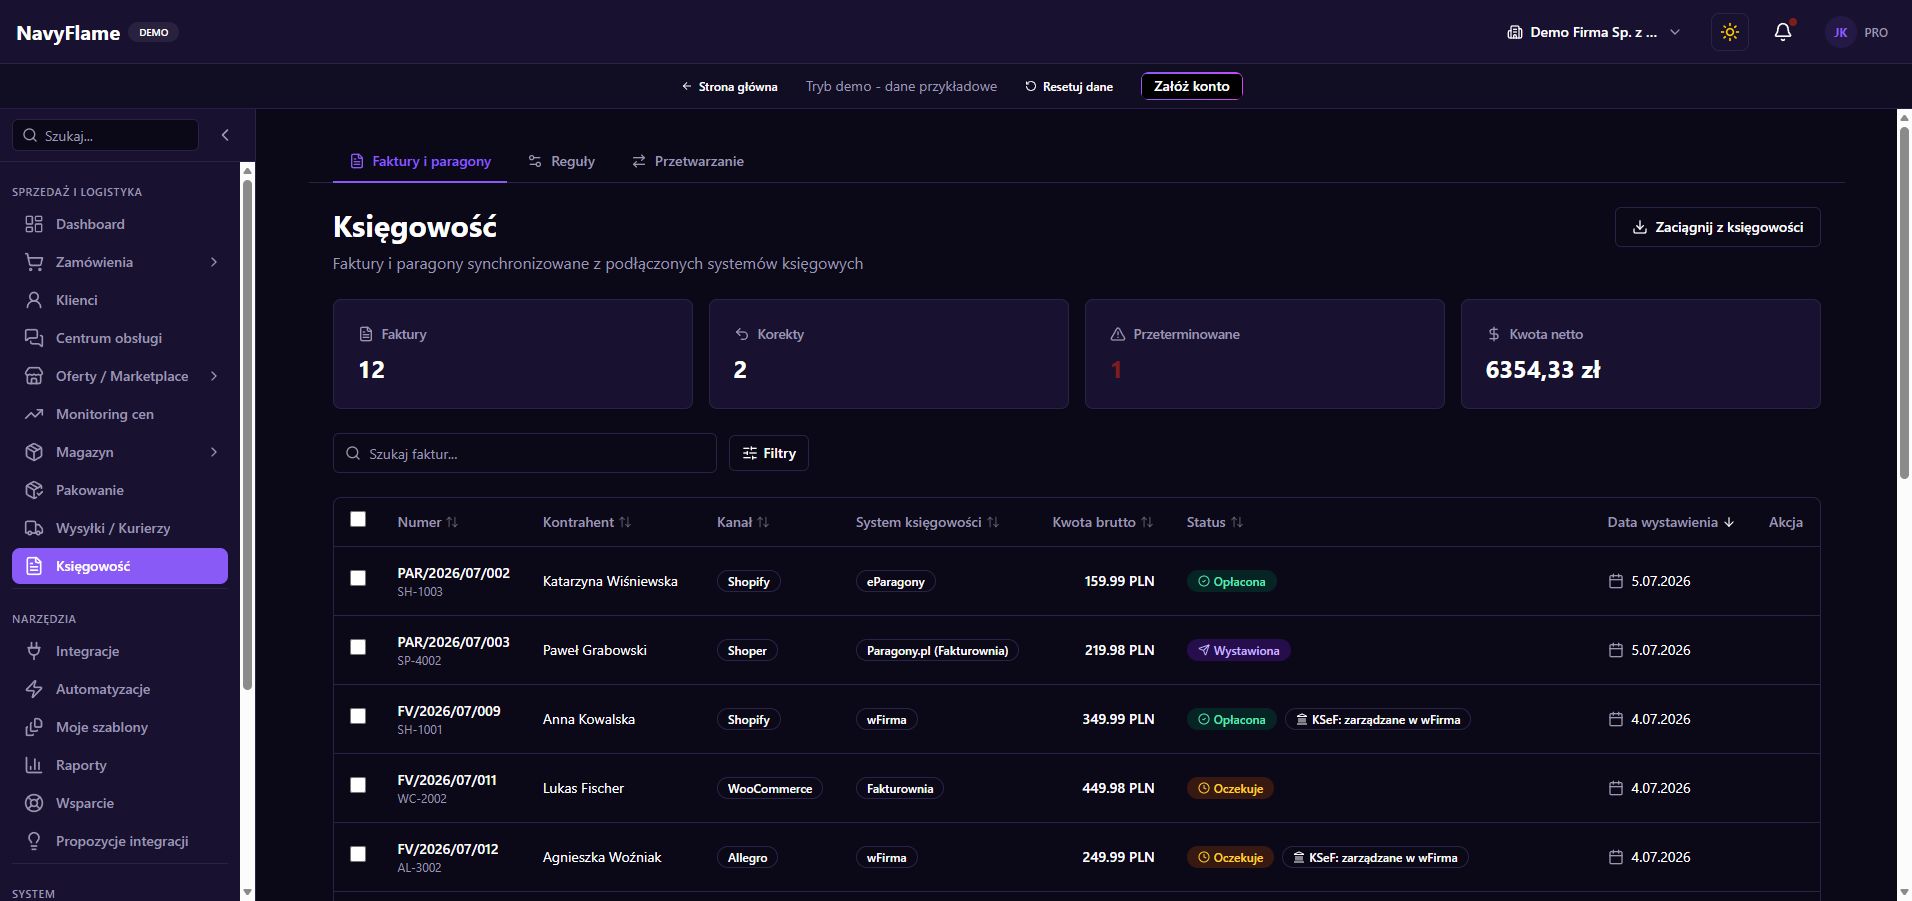
Open Accounting. If you have documents at the connected provider, use the accounting history import within the options available. You can pull in existing documents without setting up any automation for issuing new ones. Compare a sample of numbers and values with the accounting panel, particularly before switching from an earlier tool.
Open Rules and choose the target
In Accounting, go to Rules. Choose the right target system if your setup offers more than one. Note that the options available, the document types and the series fields change from provider to provider. Settings from one system should not be copied into another accounting system without checking.
Decide who a document is created for
In the When to issue documents section, set the invoicing mode: for every order, on request or B2B, or B2B only. Check how B2B is detected and the policy for choosing the document type. The choice should match the rules your accountant applies and the data the sales channels actually pass on.
Set the moment of issue
In Issue trigger, choose a manual action or the right automatic moment: after payment, after moving to Fulfilled, or after a label is generated. The invoicing mode decides which orders a document covers, and the trigger decides when it is created. To begin with, choose a path you can verify easily.
Check the series and the continuity of numbering
If the provider offers series, pick a real series from the list or fill in the text field as its description says. An empty value may mean the accounting system's default series. Some providers have no separate choice of series. Do not type the next invoice number into the series identifier field; check the counter in the system that issues the document.
Check: You know which numbering the next document will use and whether it continues the right sequence in the accounts.
Issue and verify the first real document
Open a prepared order and, in the documents section, choose Issue invoice or the document type available for that purpose. Use an order for which a document genuinely should exist. Compare the number, date, buyer, line items, amounts, currency and the result in the accounting panel. Clicking alone does not confirm that it was issued.
Only after checking, switch the repeatable process on
Save the intended rules and make sure the automation required for the flow into accounting is in place. Check the next order that meets the conditions, and one that should not trigger a document. Use Processing and the document details to explain errors. With an ERP, also check the product links if your process requires them.
Check: The document was created once, at the right provider, with correct numbering and data; an order not meeting the conditions did not trigger an unwanted operation.
What this chapter gives you
The accounting is connected, the numbering is checked, and documents are created under rules you chose deliberately and verified.
The demo lets you learn the screens on sample data. You set up your own integrations once you have an account.
Explore the demoCreate a NavyFlame account